Micro sites
Build a landing page to collect form data
Gathering data from a client using a web form, while extremely direct, is sometimes technically tricky and often requires a significant amount of input from the web development and even data teams.
Xtremepush's Micro Sites removes all this technical difficulty, allowing a non-technical user to create and launch any number of web pages that not only follow the same branding as their existing company site but can also directly link any forms used in the pages to the attributes of a User Profile in an Xtremepush project.
Can't see this option?Micro sites is an optional feature, not enabled by default. If you wish to use it, please contact us.
Create a new site
Navigate to Content > Sites and click Create Site to add a new site. A site is simply a collection of pages.
Give the site a title and click Save.
The site is now created and can have pages added to it.
Add pages
Add a new page to the site by clicking the Add Page button.
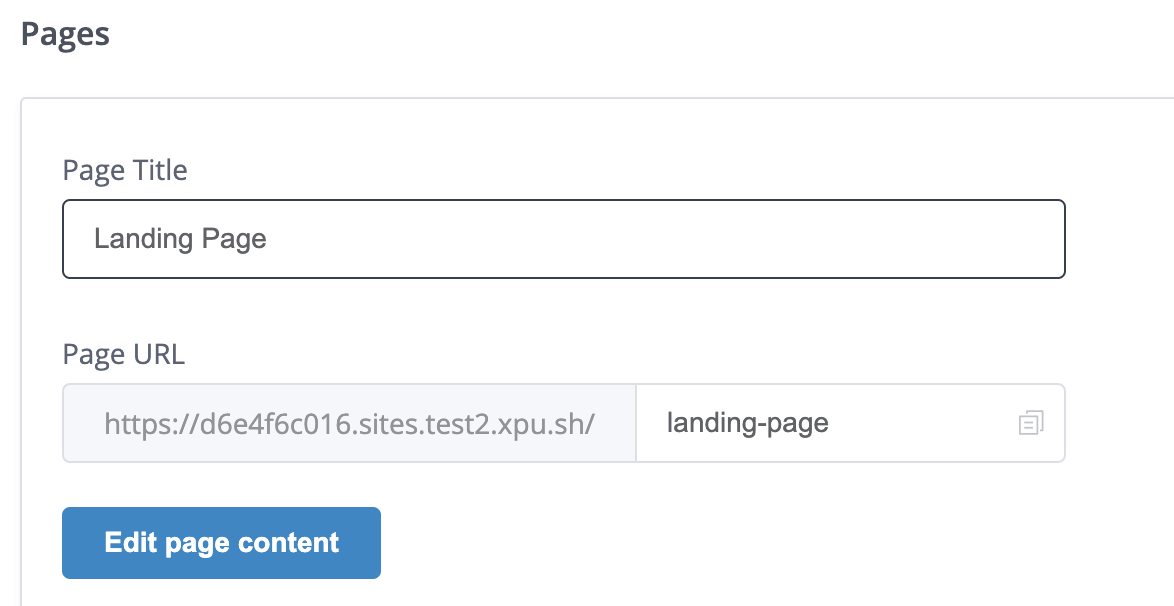
A page can be given a title, which by default will be used as the slug for that page in the URL (although it can be edited independently of the title).
The page URL must be unique, so it’s not possible to choose a URL that is already used by another page

If the page contains a form there are also selections for setting a submission confirmation page, more information below in the section on adding forms.
Page builder
To build the page content, click on the Edit page content button to open the drag-and-drop builder. Drag in content blocks to add content and style sections of the page. Use rows to structure the layout of your page, and set general page styles in the style section.
Add forms
To receive input from an end-user, add a form component to the page. Drag it in from the right-hand menu and place it where it should appear on the page. Once in place, it can be styled as desired using the general styles section as well as the specific styles from the labels, fields, and buttons.
Linking Attributes to fields
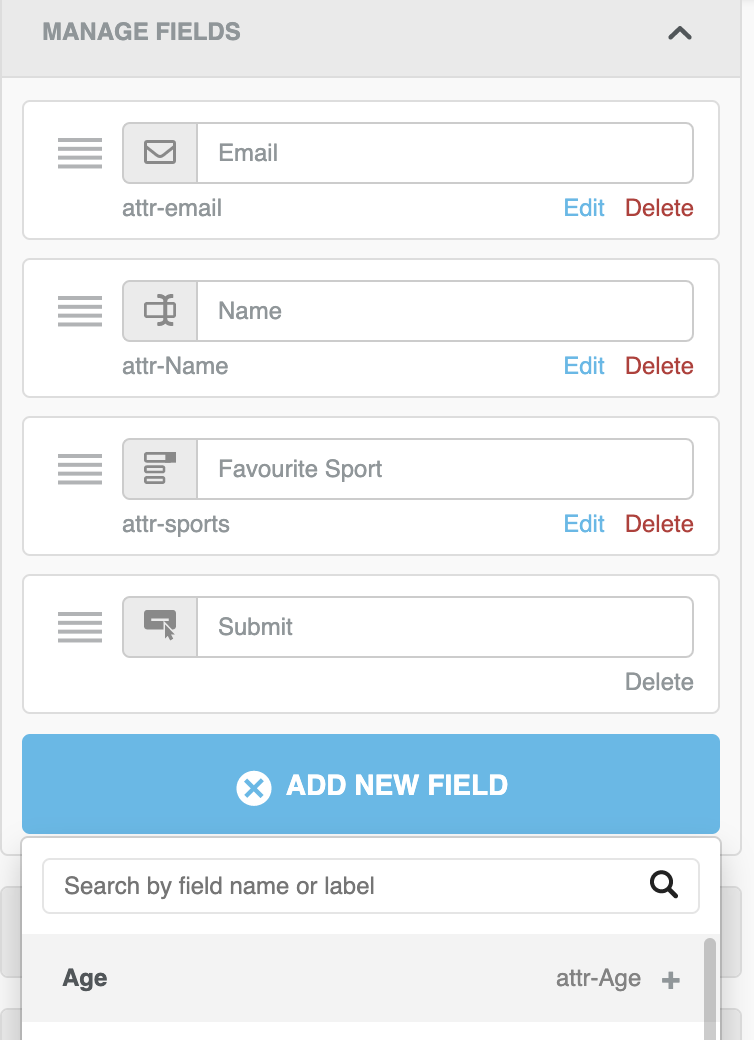
When the end-user submits the form, the desired outcome is to collect the values they have entered in the form fields in attributes against their User Profile. Click on the Add new field button. This shows a searchable list of all profile attributes within the current project. Selecting one adds a new field to the form which is automatically linked with the selected attribute.

In this example, the user needs to input their email, first name and last name. Those values are mapped to attributes in their user profile.
Setting field type
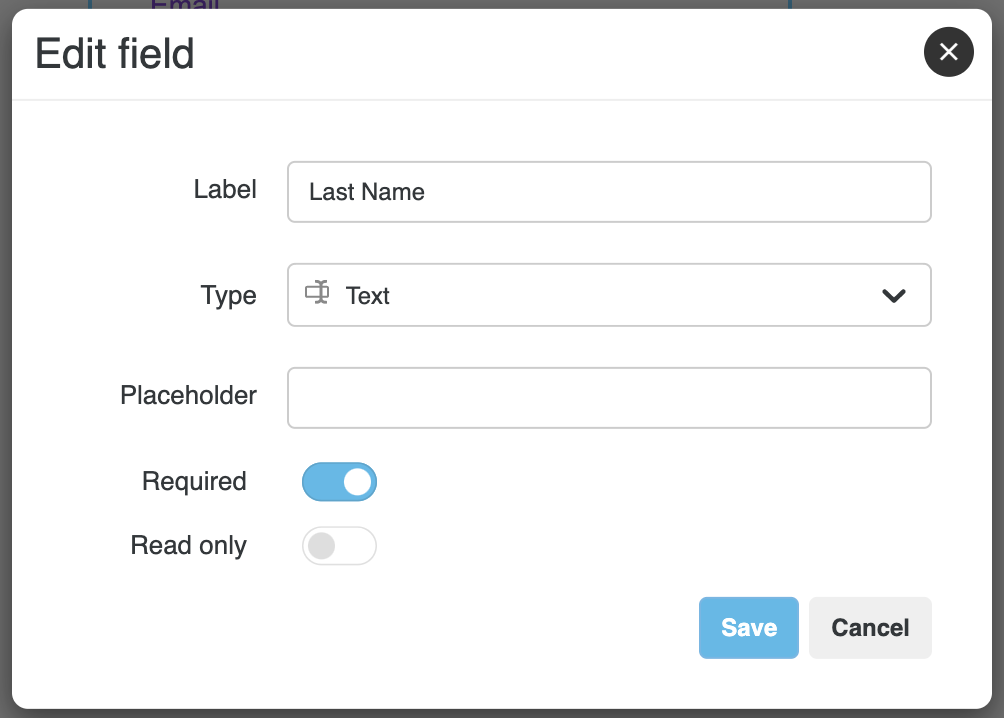
After adding a field to a form, click Edit on that field to show its options. From here it is possible to set the label text, the type of input, any placeholder text, and whether the field entry is required or read-only.

Field type & attribute typeIt is important to match up the field type you select with the profile attribute type. For example, if selecting an attribute which has a number type, it makes sense to set the field type to number as well so that it is populated with the expected value.
This is especially important for Array-type fields. If a form field is set as a multi-select where multiple values can be selected then it follows that the attribute it is linked to should be of type Array so that multiple values can be recorded.
Selecting a submission success page
If the page contains a form then a new option appears in the page setting and is possible to set where an end-user is sent following the successful submission of a form.
The options here include selecting another page from within the same site or linking to a specific URL of your choice.

Save and publish site
Whenever you make a change to a site you must save the site itself. Even if you make changes to a page and save the changes in the page builder, any changes will be lost if the site itself is not saved.
Once a site is ready, the publish button can be clicked in order to put the site live so it is visible to end-users online. A site cannot be published if there are unsaved changes.
Unpublish a site
Once published, the site is live until the unpublish button is clicked to make it offline. A site can be published and unpublished as many times as you like.
Generating links to a page
Two options can be found next to the page URL.
The first will open a new browser tab and load the most recently published version of that page.

The second button will copy a page token to the clipboard. This can be pasted as the URL in any campaign and at the point of sending will dynamically generate a personalised link for every individual recipient of the message, meaning that when they click it they will be taken to the same form but with URL parameters that can be used to identify the profile when the form is submitted to make sure any entered values are stored in the attributes for that profile.
Saving attribute data
When a form is submitted, the values entered into the form fields are stored against the attributes for the correct profile as described above. This means that:
- Any value collected for attributes not already stored against a profile, will cause the attribute to be linked to the profile and populated with the value.
- Any value collected for attributes which are already populated will overwrite the current value.
- A blank value still counts as a value and as such will overwrite any currently populated attribute with a blank value. To avoid this you can always set the form field to be required, this will make sure the form cannot be submitted unless a value is provided.
Updated 3 months ago