Email quick start guide
What you need to know before starting sending email campaigns
To be able to use the email channel, it must first be enabled by a Project Admin or Company Admin user, in Settings > Channels > Manage Channels by toggling the Email slider. This will automatically send a request to our support team to enable the email channel. Our team will get in touch to help you with set-up to ensure the best deliverability results. See our email verification guide for more details on what this process looks like.
Once the configuration is complete you will be able to see Email as an available channel from the campaign builder menu.
TestingRunning tests is encouraged before starting to send email campaigns. You'll find details on how to test below.
Test email
In order to send an email to yourself you should create a test user. Users with the correct level of access can do so. If the user does not show as email addressable, double-check your email address is entered correctly, as the system will automatically set addressability for new user profiles if the email address is in the correct format.
You can now test sending an email by navigating to Campaigns > Create Campaign > Single-stage > Time-based > Create Campaign > select Email from the Setup tab.
Navigate to the Content tab of the campaign builder to add the required information for the email heading:
Type a subject, select a from address from the list of addresses configured and select whether you would like to include an unsubscribe header. You have the ability to modify the From name / reply to name. Finally, create a draft sample email using the editor.
Navigate to the Segment tab to specify the recipients of the campaign. If you have multiple users and you want to target your own email address, you can simply use it in a target segment by selecting Create custom segment and adding the condition email equals from the identifiers section of the Segmentation Engine.
Count recipients before launching the campaignWhenever launching a campaign it is a best practice to use the Calculate recipients feature to count recipients and make sure that your targeted audience for this campaign is what you are expecting.
Add link to view email online
It is recommended to add a link at the top of the email content to allow the recipient to view the email online in their web browser, in case they have any issues viewing it within their email client. This link can be generated using the following syntax:
{{system.url.archive}}Allow users to manage their subscription preferences
It is a requirement to include a link in any marketing message to allow a recipient to unsubscribe, without having to sign in to an account. It is also a best practice for email deliverability. Review our dedicated guide for more information.
As users may simply want to change the types of communications they receive, it is good practice to allow your users to manage their subscription preferences, rather than only the option to completely unsubscribe, as in this example email footer:

It's also possible to create specific subscription categories that users can opt-in to. Review our dedicated guide to learn more.
This option can be included from the email builder by adding the following codes as a hyperlink to the text:
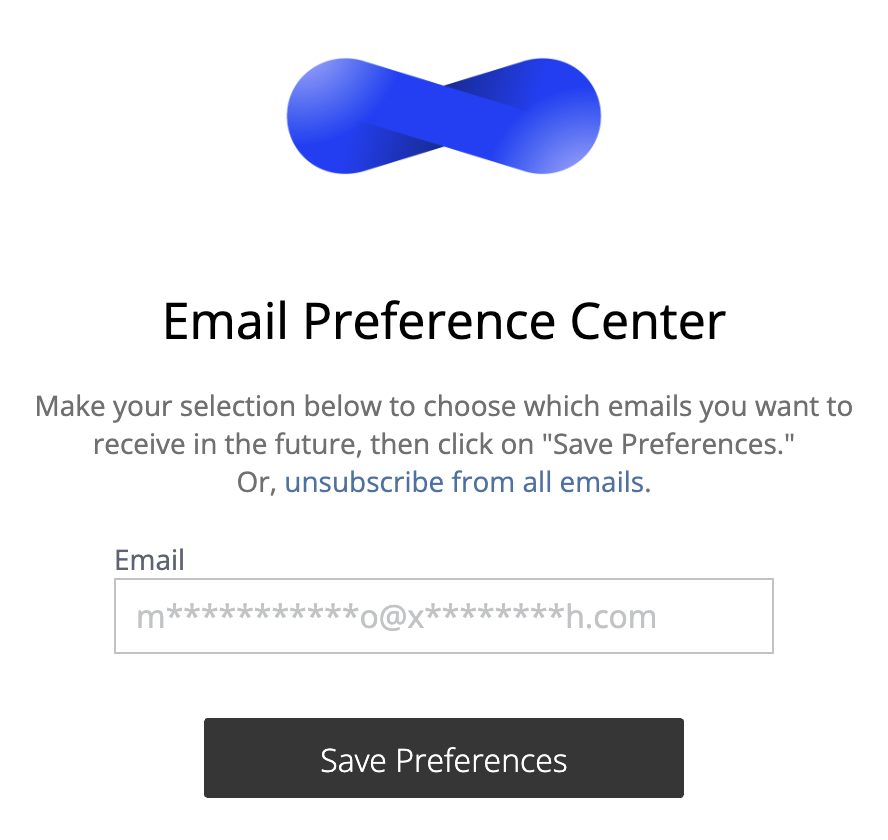
{{system.url.profile}}When clicking on here (which is linked to {{system.url.profile}}), users will be shown a page where they can change their subscription status or click to unsubscribe:

Email preference center that is accessed by the special syntax {{system.url.profile}}.
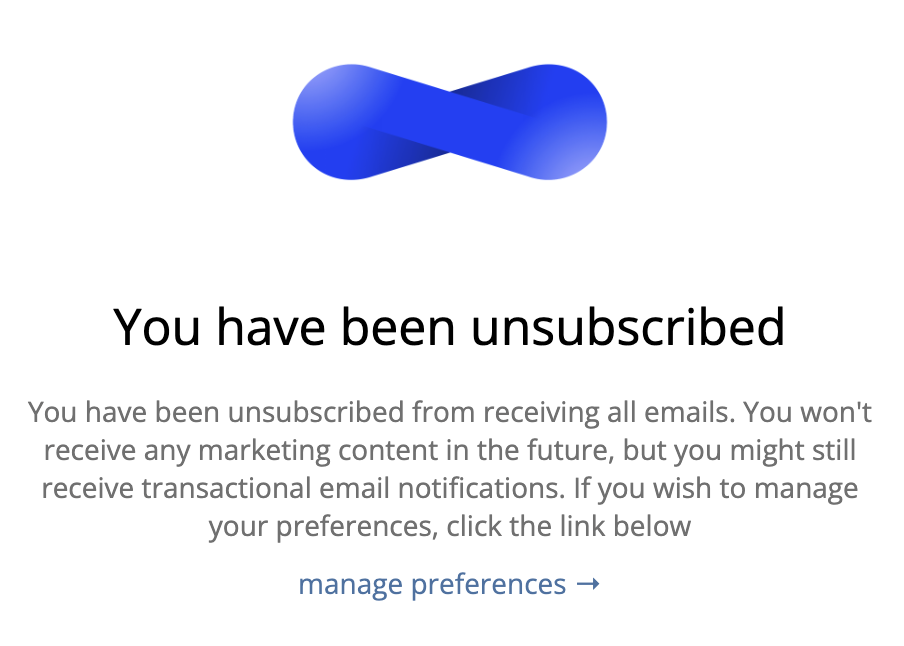
{{system.url.unsubscribe}}It's also possible to add a direct link to unsubscribe in one click, by using the syntax {{system.url.unsubscribe}}. When clicking on text linked to this syntax, users are shown a page where they see a confirmation that they have been unsubscribed and that includes a link to the email preference page.
For more information on how to add unsubscribe links in email campaigns, see Allow Users to Unsubscribe from Preferences
One-click unsubscribeSome users might use an automated scanning solution on their server that clicks on all links in the emails they receive. This gets the recipient automatically unsubscribed, so using
{{system.url.profile}}, which requires a confirmation before unsubscribing, is recommended.

Unsubscribe confirmation. User can click on Manage preferences to resubscribe again.
Special linksIf your project is configured to use our drag and drop builder it is also possible to insert the Unsubscribe and View online links by adding a text component and clicking on Special links > Links > Unsubscribe or View online respectively.
The styling of the email preference center can be customised (from Email settings) and also the texts can be translated and edited. Learn more.
Occasionally, you may also wish to re-permission users as part of your list cleaning policy. In this case, you can create a subscribe button or link in your email by using the following dynamic URL syntax:
{{system.url.subscribe}}Clicking on a subscribe link in an email will opt a user back in to receive email messages.
It is also common to reference the email address that a user has opted in, usually in the footer, in case they are using an email client to aggregate multiple email addresses. This can be done using the following syntax which will be replaced with the users' email address when the email is rendered:
{{user.email}}Updated 3 months ago