Locations quick start guide
All you need to know before starting to use locations in Xtremepush
Our mobile SDKs allow customers to enable location services. These allow you to gather data on when users enter or exit geofences and iBeacon-fenced areas that in turn can be used to trigger campaigns or to segment users in relation to whether they have visited one of your locations. Read more on collecting location data.
Locations is an additional feature. If you wish to use this feature and to discuss pricing please get in touch with your account manager.
Prerequisites: SDK integration
Location services require you to configure your mobile applications in your Xtremepush project and that you complete the integration of the Xtremepush SDK. See details on how to achieve this in our dedicated guides for Android and iOS.
Enable location services in your app
Once you have integrated the SDK with your mobile apps, you will need to enable location services for your Android and iOS apps.
Create locations in your project
At this stage, you would need to create the geofences or iBeacons in your project. Review our dedicated guide on how to do so for more details.
Testing tips
Testing...Running tests is encouraged before deploying locations to real customers. You'll find details on how to test below.
If you have set a location in your project but location-triggered campaigns aren't working as expected, the first thing to check is that you have a test build of your app where you have notification and location permissions. On iOS you would have had to accept notification and location permissions, you may also be asked for location permissions on Android since Android 6.0 and to accept notifications since Android 13.
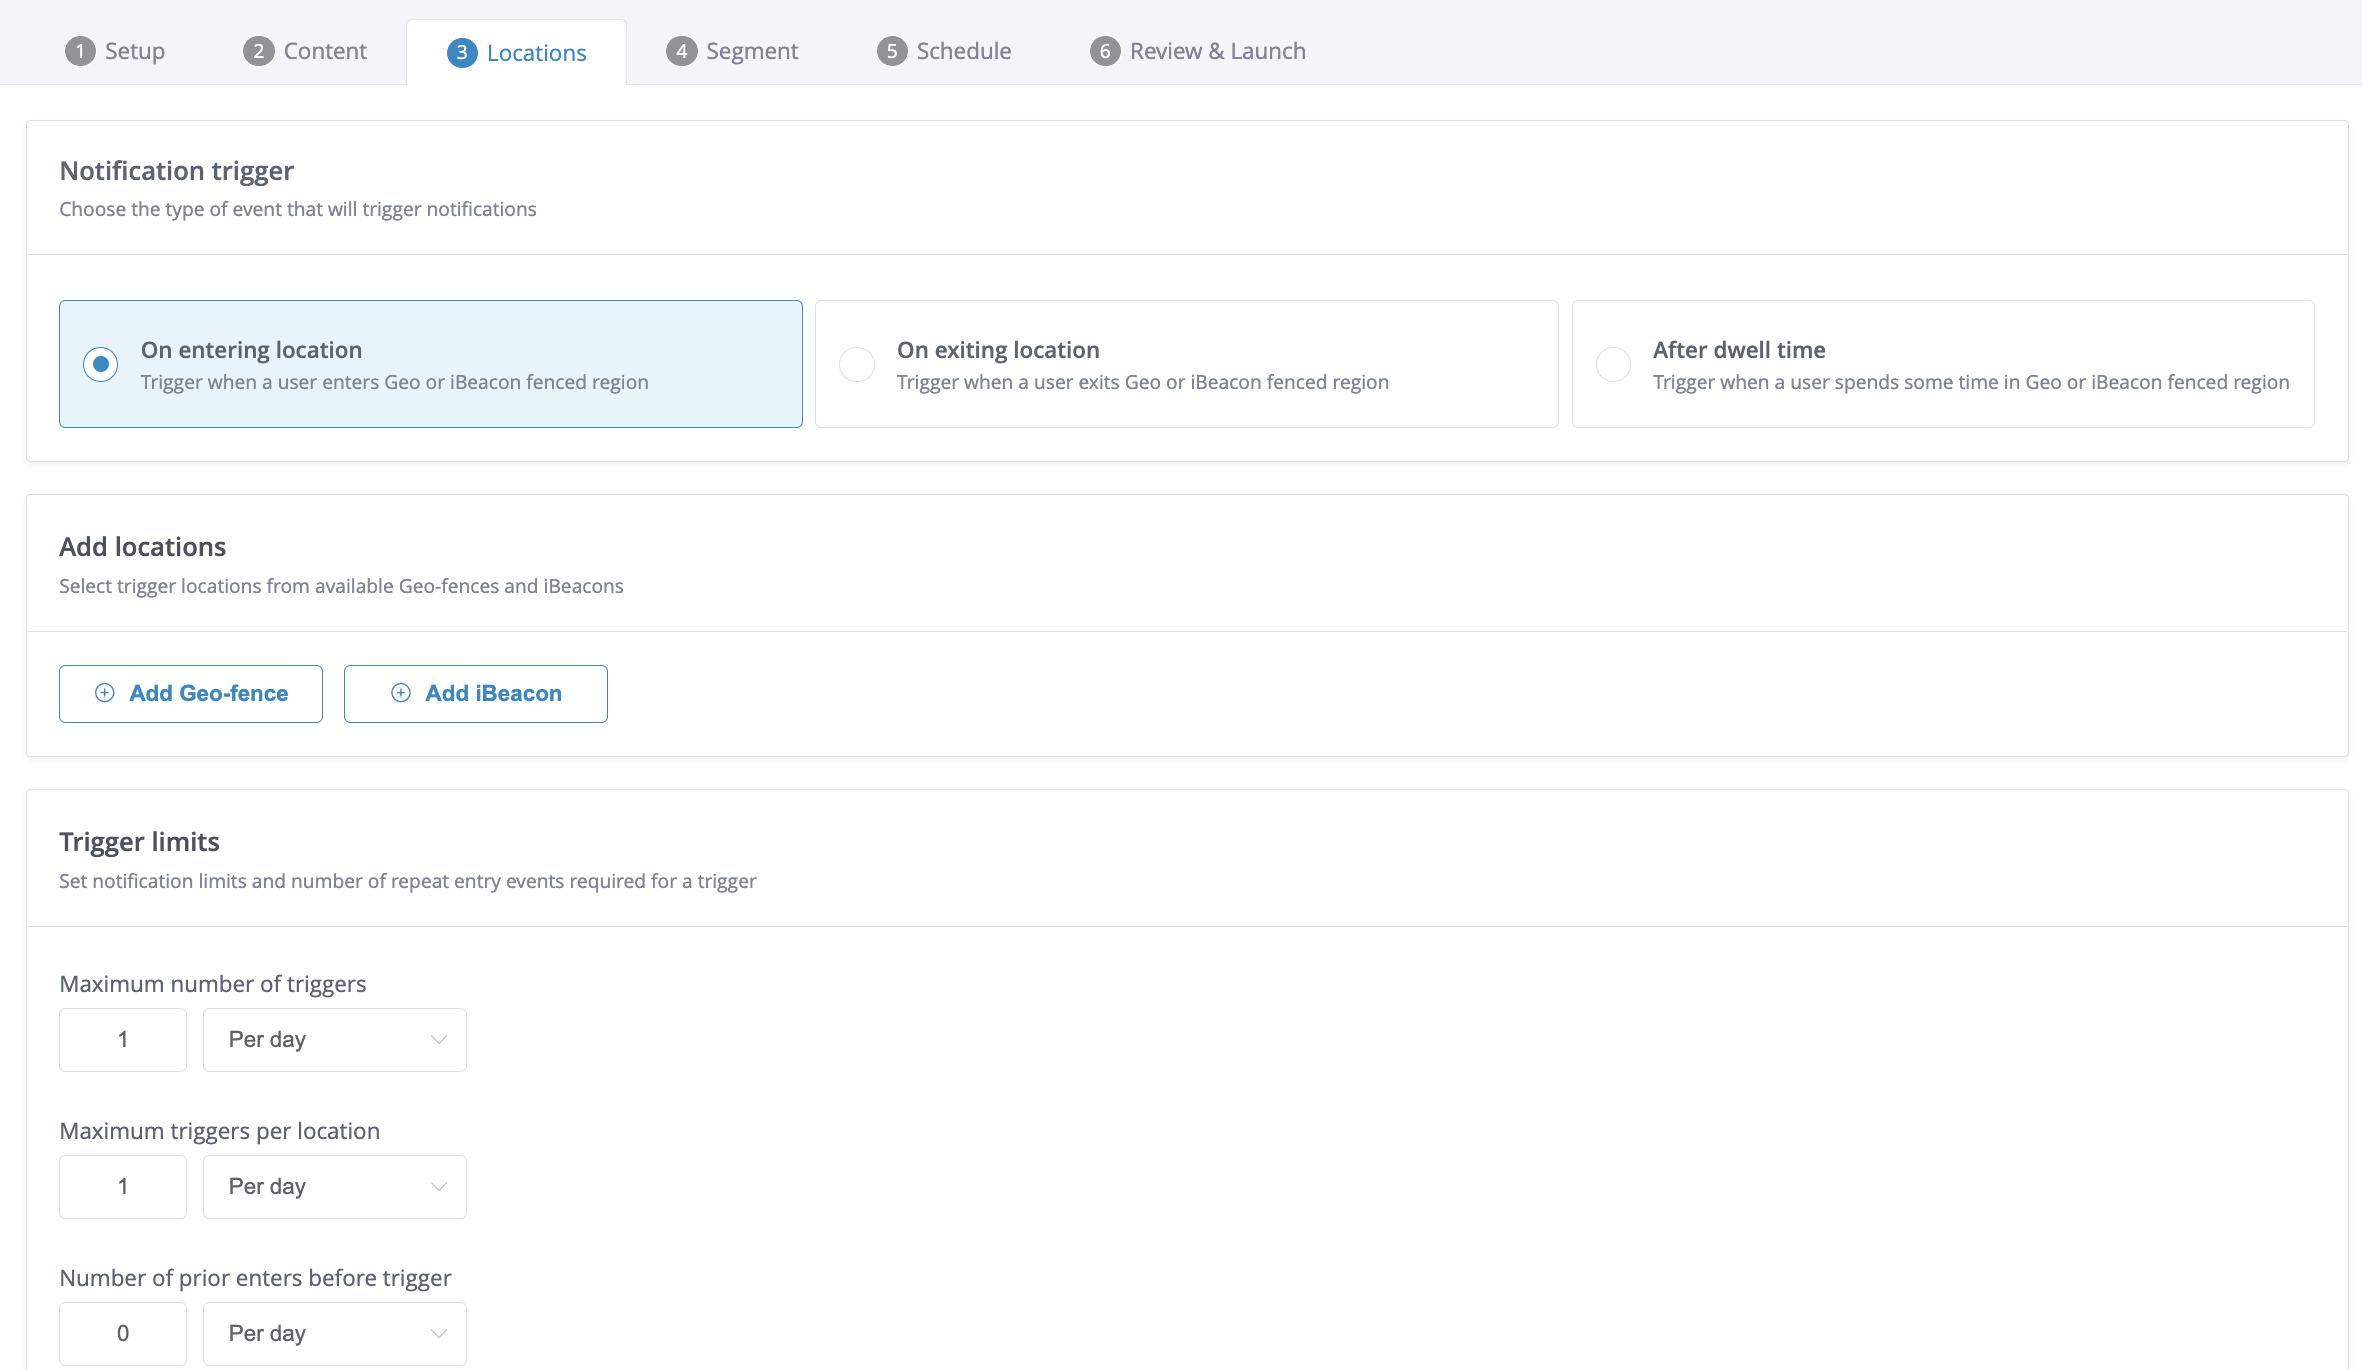
Next, check that you have location services switched on globally on your test device, and then check the Triggering limits settings in the Locations tab of your campaign.
Defaults for location-based campaigns are shown below (1 trigger per day and per location and 0 number of prior enters before trigger):

In general, most live campaigns will use the system defaults as you will not want to send users too many messages. In fact, you may often limit messages to a number per campaign. However, when testing initially, you may want to increase this limit on your campaigns so you can do more than one test in a day on a campaign.
Also, review the number of prior enters before trigger setting. This message doesn't require any prior entry on a given day so the message will trigger the first time you enter the location on a given day. If you change this setting to '1', you would need to enter the location, exit it and then re-enter to get your first notification.
You can review our dedicated guide on the Locations tab for more details.
Finally, after adding a geofence on the platform your app will not be aware of it until you have made a significant movement (travelled a few hundred metres) or until the next time you open the app. So if you have just added the geofence you are using in your campaign be sure to open and close your app or that you have a distance to travel to get to the geofence you are testing with.
Limitations of Location Technology
On the client side, we rely on both iOS and Android we rely on the operating system to get a location fix, and use the Location Services API to get the device’s location information.
The Location Service is a system that uses various sources of information with varying levels of accuracy in parallel to acquire a location. Regardless of the sources used, the location is always returned as latitude and longitude coordinates. These sources include, amongst others:
- GPS: Very accurate and precise data under the right conditions, capable of identifying user location to within 10-100 meters. The quality of a GPS signal degrades significantly indoors or in locations that do not have an unobstructed view of multiple GPS satellites.
- Wi-Fi: Very accurate and precise data, particularly in signal-dense environments (e.g. buildings and malls) Capable of identifying user location to within 10-100 meters when wifi signals are present. Can occasionally cause false positives when there is a discrepancy between the mapping of a Wi-fi location in OS data versus where a Wi-fi access point is in the real world.
- Cell Triangulation: Accurate but less precise data. Typically capable of identifying user location within a zip or neighbourhood area.
- Beacons: Very accurate and precise data, capable of identifying user location within a matter of feet. Requires Beacon hardware different from geofences.
For example, a device is locked to a VPN that is configured for internal desktop testing. At scale, the location technology works really well but individual devices can have issues on the device side.
Any of the above information sources may experience issues on an individual device e.g. a handset may have a poorly calibrated GPS chipset. Where possible if testing location never uses a single device, test with as many devices as feasible. Devices should mimic real-world conditions i.e. be a normally configured mobile device with an active sim card like a typical customer would have. Do not use test devices with limited connectivity.
Updated 4 months ago