Creating a custom two-step prompt
Get more opt-ins for web push notifications
Web push is a permission-based marketing channel. With Xtremepush, you can control how the permission prompt is shown. One of the possible options is using a two-step prompt. This would translate into displaying first a message inviting the user to opt-in for web push, and only showing the second step after the user has interacted with the first one, giving permission (this is known as a user gesture). The second step would be the actual browser prompt.
Some of the reasons to do this:
- Some browsers (such as Safari) require a user gesture in order to show the permission prompt. Other browsers like Firefox display the permission prompt much more prominently if you show the prompt after the user has interacted with your site.
- Including a value-exchange (as part of this two-step prompt) can help you increase your opt-in rates.
This guide describes different ways to implement a two-step prompt.
Prerequisites
This way of obtaining permission for web push requires that you configure your web application in your Xtremepush project and that you complete the integration of the Xtremepush SDK in your website.
To add a custom two-step prompt, you need to turn off the auto prompt from push settings page.
Below you will find the different options to enable the two-step prompt.
Use a button in your site
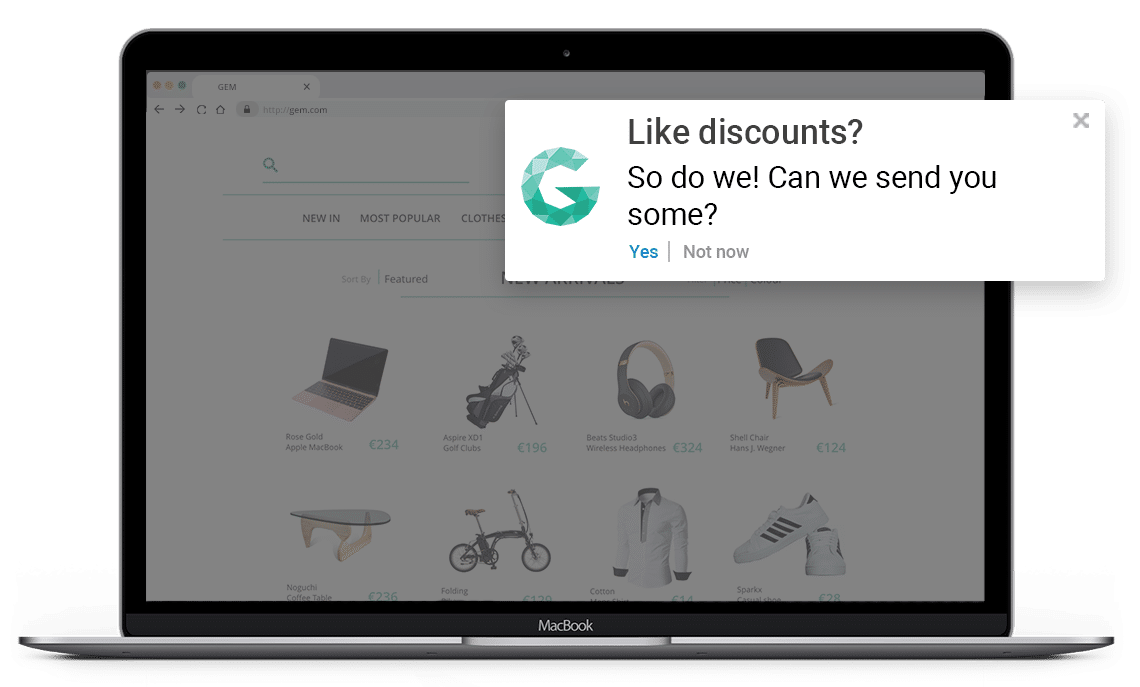
If you are adding your own value-exchange by directly editing your website, for example, a banner within the regular flow of your content or having this as a step during the registration process so that you are only showing the prompt to registered users, you can call the following SDK method in the handler for the button presented to the user:
xtremepush('prompt');
Example of a button added to an e-commerce site with a value-exchange.
Use an onsite campaign
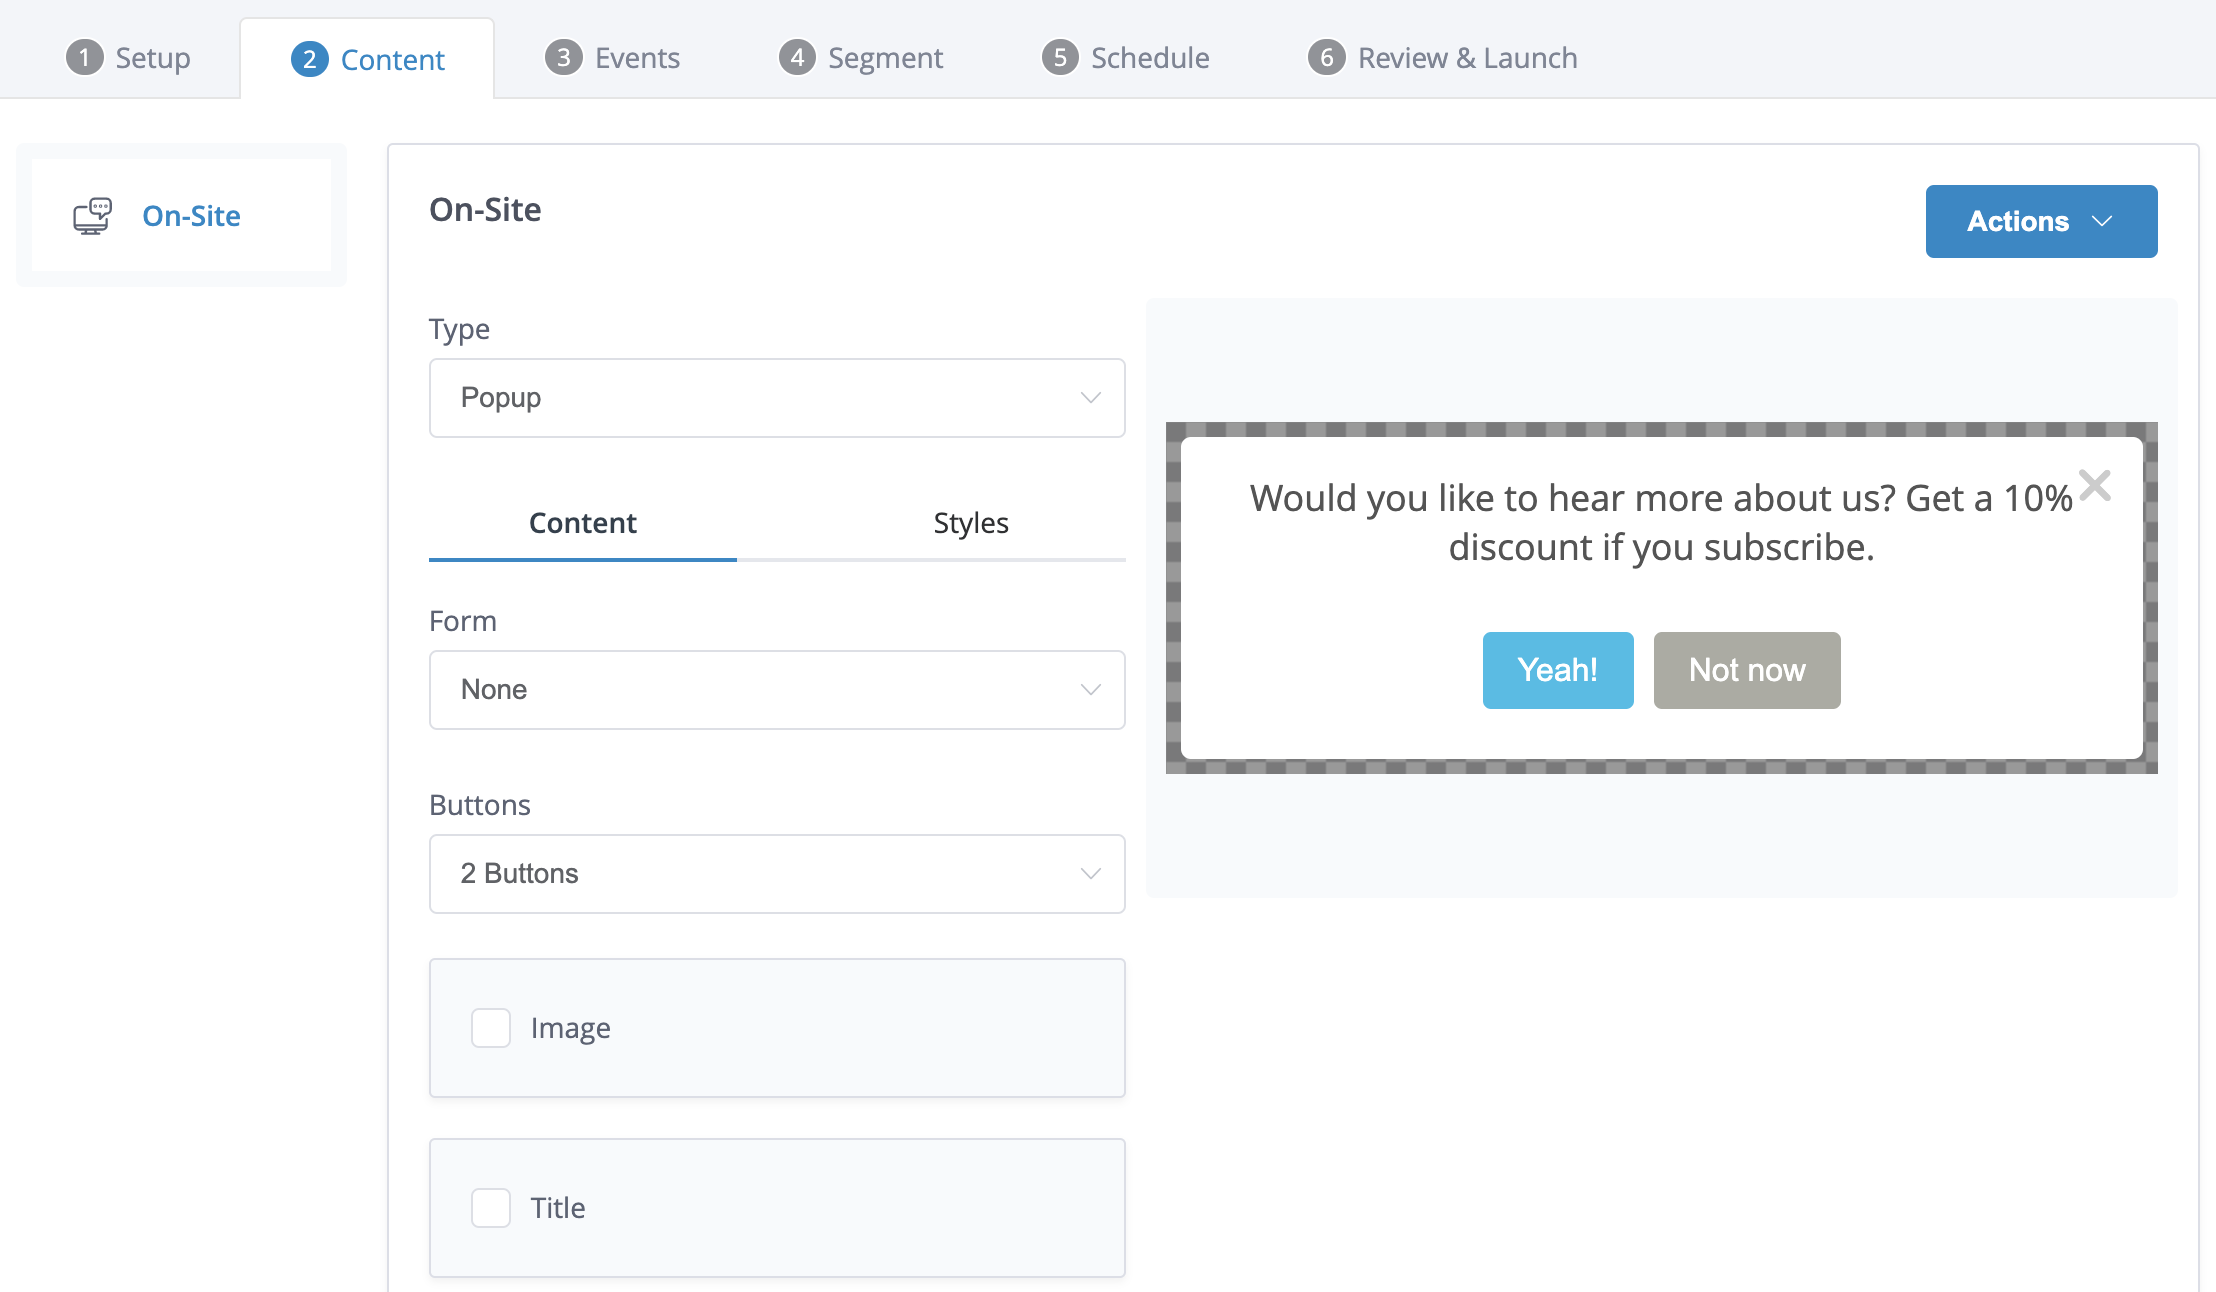
You can use an onsite campaign, so when a user arrives at the home page you can trigger this onsite in response to an event fired from your website. In this message, you could ask if they want to hear more about your company and if they click "yes" (which would be treated as a 'user gesture'), that would trigger the system prompt through JavaScript.
To do so, create an on-site campaign from Campaigns > Create Campaign > Single-stage > In-app / Onsite. Select on-site message and from the Content tab, select the Popup option, include at least one button and select JavaScript as the default action, including the following code to prompt the opt-in:
xtremepush('prompt');
Value exchange example in which a 10% discount is offered if users subscribe to push notifications.
You would need to select the event that would trigger this onsite from the Events tab.
Custom JavaScript
If you prefer to add a completely customised on-site with a value exchange prior to showing the prompt, you can actually use the on-site feature of the SDK directly on your site using JavaScript and calling the push prompt method when the user clicks the "Yes" button.
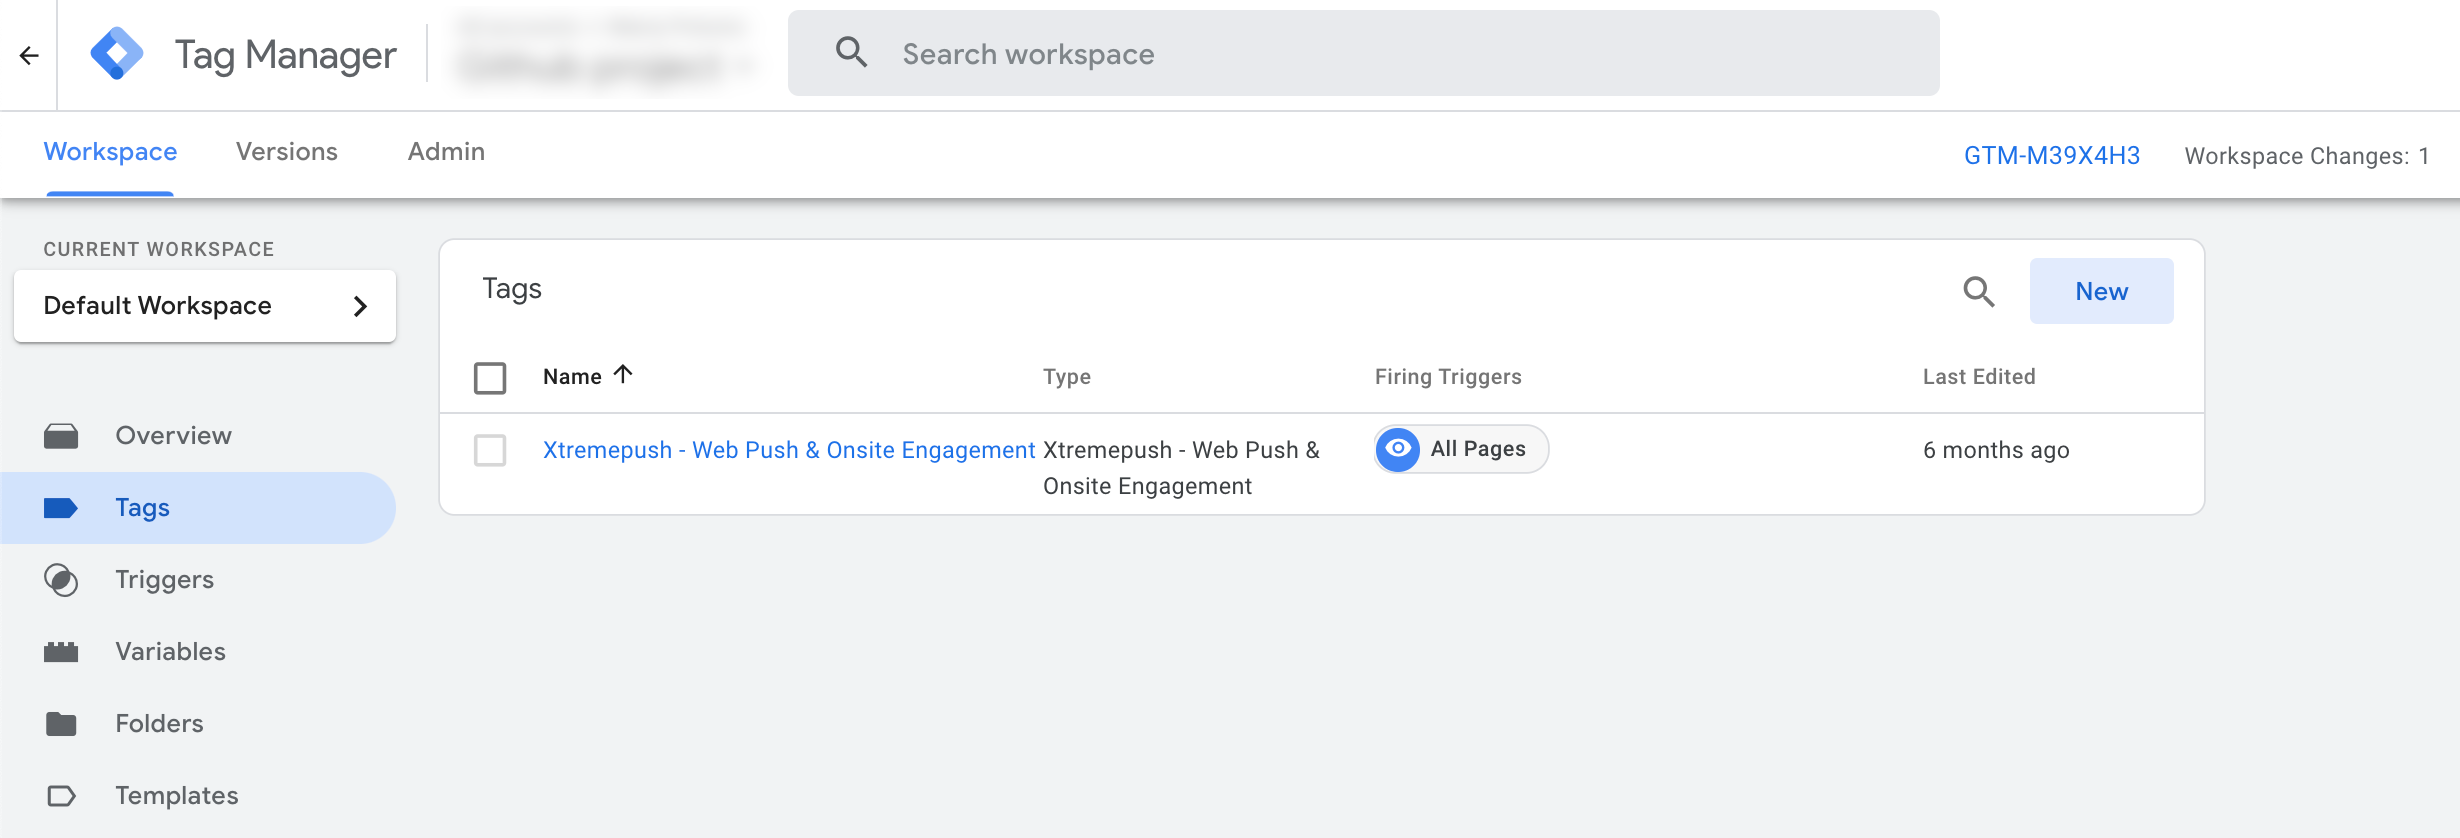
You can directly embed the JavaScript code in your website or you can use a Google Tag Manager tag to include this JavaScript code.
To do so navigate to Google Tag Manager, select the appropriate container and navigate to Tags on the left side menu > New.

Then in Tag configuration select Custom HTML and paste the following code:
webpushSwal({
  title: '<span style="font-weight: bold; color: #000; font-family: Arial,Tahoma,Verdana,Helvetica,sans-serif; font-size: 14px;">Never Miss Out!</span>',
  html: '<span style="color: #111; font-family: Arial,Tahoma,Verdana,Helvetica,sans-serif; font-size: 14px;">Would you like to receive website notifications from xtremepush?</span>',
  allowOutsideClick: false,
  showCancelButton: true,
  reverseButtons: true,
  cancelButtonText: '<span style="font-weight: bold; color: #ccc;">Not now</span>',
  confirmButtonText: '<span style="font-weight: bold; color: #fff;">Yes</span>',
  confirmButtonColor: '#00aeff',
  showCloseButton: true,
  width: 400,
  padding: 7,
}).then(function(result) {
  if (result.value) {
    // User confirmed
    localStorage.setItem('webpush_prompt_dismissed', 1);
    xtremepush('push', 'prompt');
  } else {
    // User dismissed the window
    localStorage.setItem('webpush_prompt_dismissed', 1);
  }
});
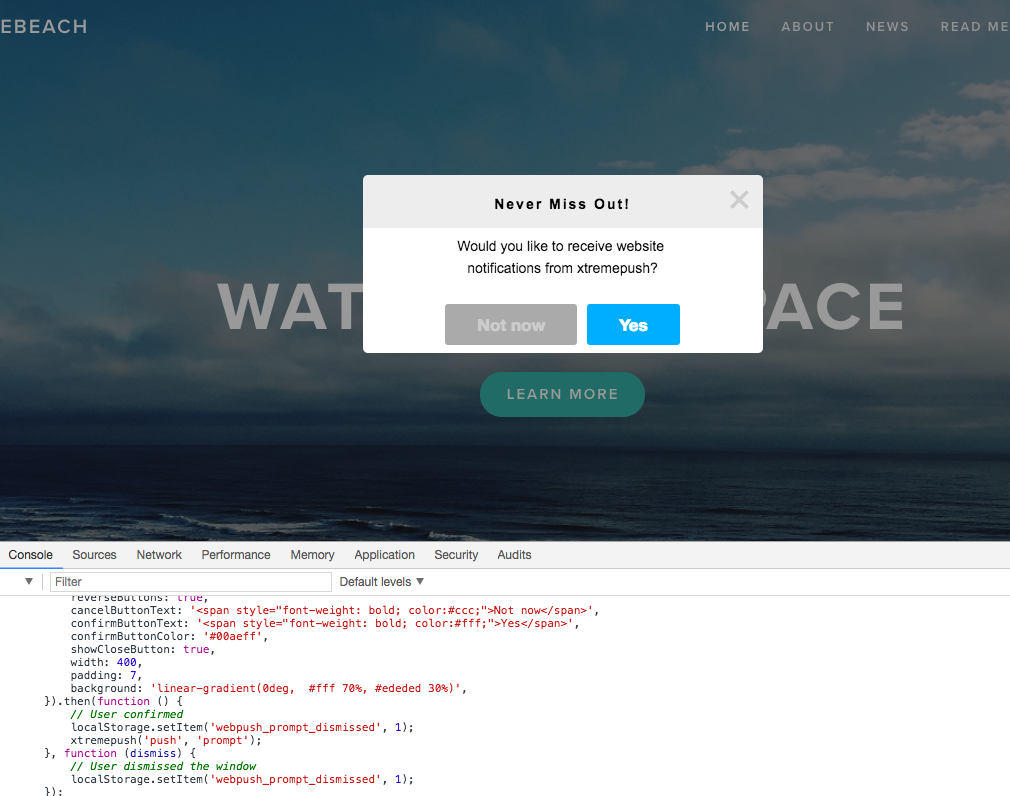
If you have the SDK already on your site you can quickly test this code from the console:

You can edit the text by modifying the title and HTML params and the text and colours of the buttons can also be customised to suit your branding.
Additional logic should be added around this on-site message to control how often the user will see it if they don't select "Yes". See a fuller example below with some additional logic to only show the on-site once per session and to not show it if the user has already opted-in, denied permissions, is on a browser that doesn't support push or has selected "no" from the on-site.
function showPrompt() {
    //addCustom prompt stuff here
    webpushSwal({
        title: '<span style="font-weight: bold; color: #000; font-family: Arial,Tahoma,Verdana,Helvetica,sans-serif; font-size: 14px;">Never Miss Out!</span>',
        html: '<span style="color: #111; font-family: Arial,Tahoma,Verdana,Helvetica,sans-serif; font-size: 14px;">Would you like to receive website notifications from Xtremepush?</span>',
        allowOutsideClick: false,
        showCancelButton: true,
        reverseButtons: true,
        cancelButtonText: '<span style="font-weight: bold; color: #ccc;">Not now</span>',
        confirmButtonText: '<span style="font-weight: bold; color: #fff;">Yes</span>',
        confirmButtonColor: '#00aeff',
        showCloseButton: true,
        width: 400,
        padding: 7,
    }).then(function(result) {
        if (result.value) {
            // User confirmed
            xtremepush('push', 'prompt');
        }
    });
}

function WebpushPrompt() {
    xtremepush('ready', function() {
        //if our session storage item does not exist, create it
        if (sessionStorage.getItem("sessionStoragePrompt") === null) {
            sessionStorage.setItem("sessionStoragePrompt", 1);
            var permission = xtremepush('push', 'permission');
            // This will exclude people who have already subscribed / denied push notifications
            // This will also exclude browsers with no push notifications support
            if (permission == 'default') {
                showPrompt();
            }
        }
    });
}

WebpushPrompt();
You could further modify this code to add more advanced behaviour around the prompt such as retries after a specific number of visits if the user says "No" to the on-site.
The JavaScript code provided in this section is just an example. We recommend editing and styling it to suit your site and brand.
Updated 3 months ago