Add a Link to an External Page
An example of how to create a text-based link in your game that leads your users to a different page
You can add a clickable text label to your game that directs users to an external web page. Common use cases for this include providing a link to:
- A terms and conditions page
- Detailed instructions on how to play the game
- A separate page with promotional details
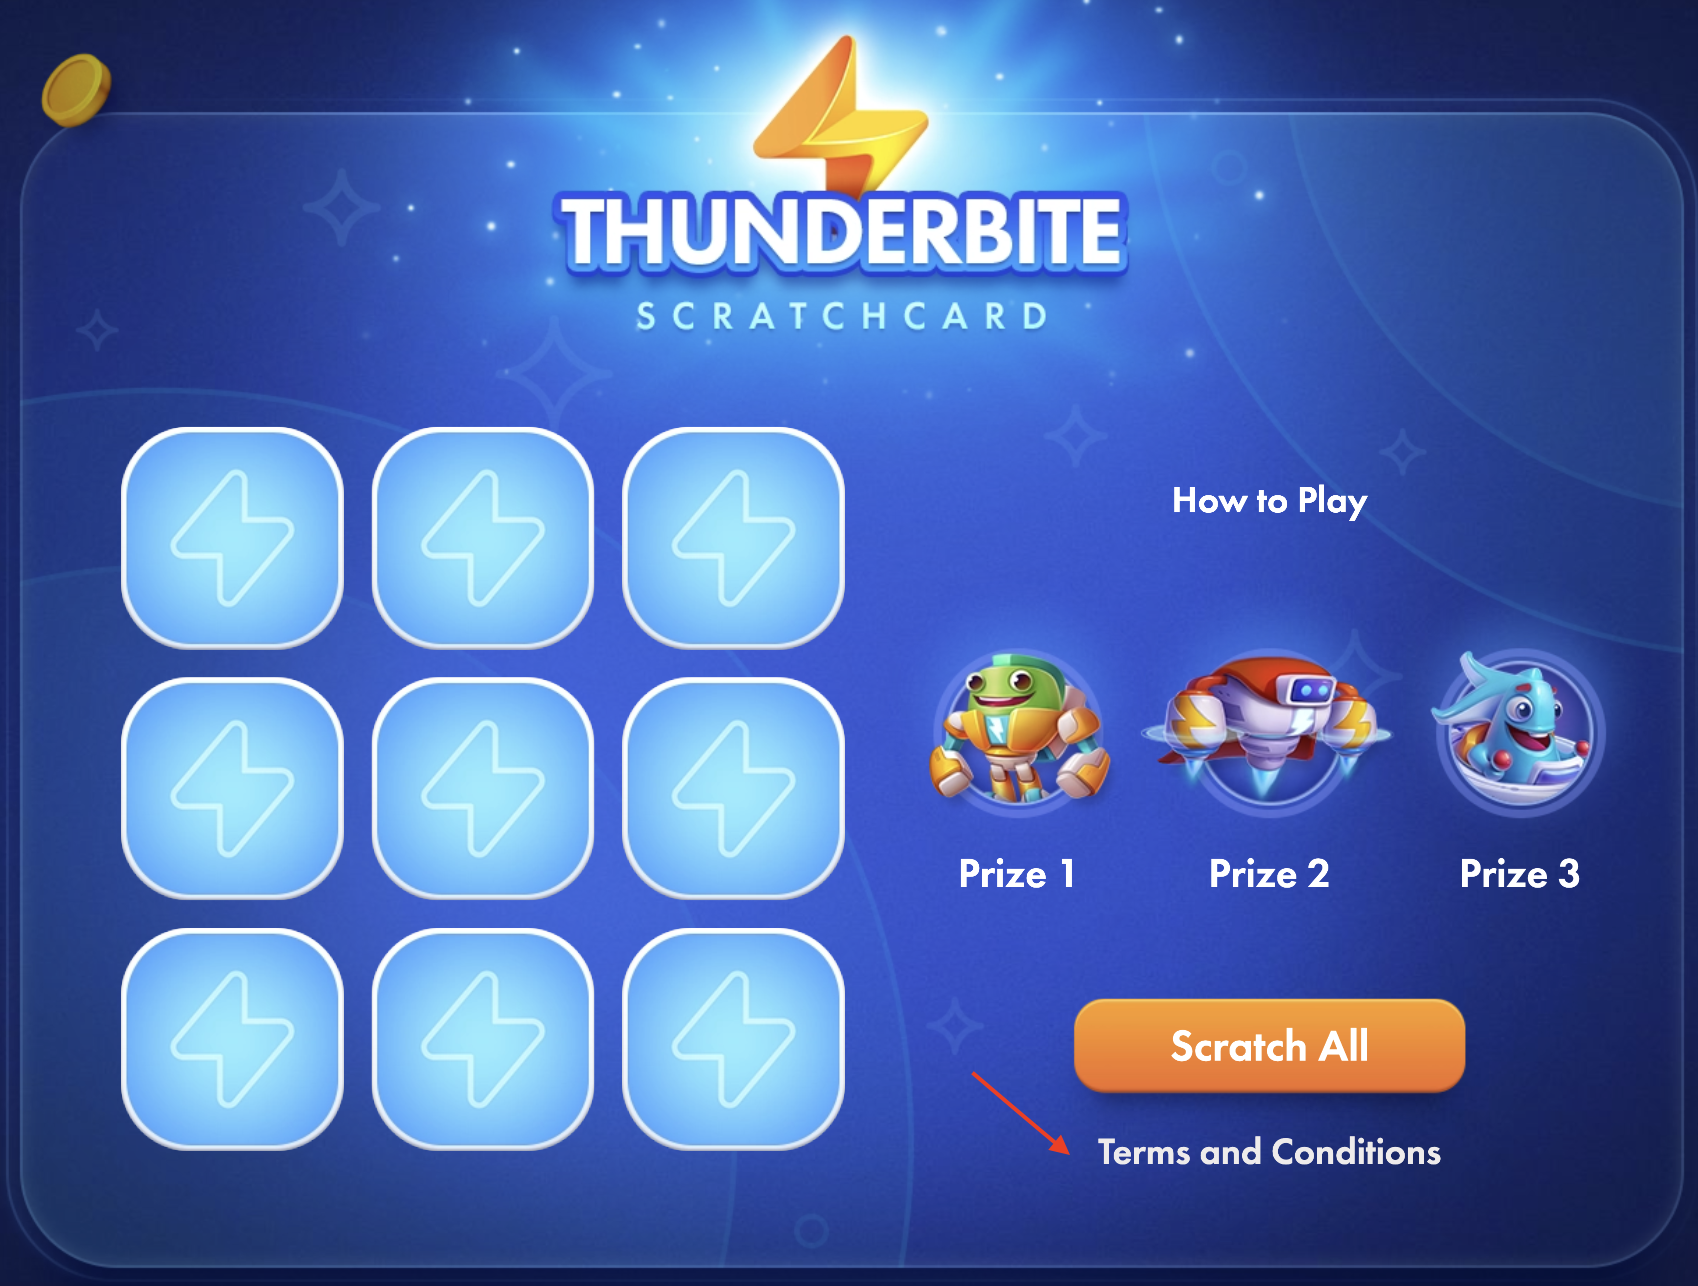
The image below shows an example link to a terms and conditions page.

Example of Terms and Conditions link used in Scratchcard game
Overview of Adding an External Link
To create an external link, do the following:
- Configure Additional Texts and Events
- Create the Text Layer in the Editor
- Modify the Text in the Editor
- Make the Text Clickable
- Configure the Redirect Action
- (optional) Add a Sound Effect
Configure Additional Texts and Events
The standard asset pack may not include the text you need for external links. To add a custom text field in your game, you must first configure additional text fields.
To configure the text fields, open the game Editor and do the following:
- Go to Settings>Texts>Default Text
- Add the following text fields:
- Display Text: This is the identifier for the field that will contain the visible text in your game's user interface. For example, you can enter
terms_and_conditions_label, line
To also set a default value for this field, add the text in quotes at the end. For example:terms_and_conditions_label, line, “Terms and Conditions”. This text will be displayed if no other value is provided. - External Link: This is the identifier for the field that will hold the destination URL for your external page. For example, you can enter
terms_and_conditions_url, line
After you save your changes, the text fields are displayed in the Texts of your game campaign. For more information on adding text fields, see Add Additional Texts.
- Display Text: This is the identifier for the field that will contain the visible text in your game's user interface. For example, you can enter
- In the Events tab, configure an event that will be triggered when a user clicks the text. For example,
terms_and_conditions_press - Save your changes in the Editor.
Create the Text layer in the Editor
To add the text in your game’s user interface, you need to add an additional text layer in the Editor. To add the additional text layer, do the following:
- Open the Main Screen layout and go to the Layers pane on the right.
- Right-click Elements, then click Create Layer>Element>Text
- In the properties pane on the left pane, add a name for the text layer in the Label field.
- Save your changes in the Editor.
Modify the Text in the Editor
After selecting the text layer, adjust the following settings in the properties pane to configure its content and appearance.
The settings below are a guide to the customizations you can make. You have full control to change the text content, adjust the appearance like font and color, and reposition the element on the screen to match your specific design.
- Static Text ID: Select the <Display Text> identifier that you configured previously in the editor Settings. This is the text that will be displayed to your user.
- Positioning Mode: Set to Relative to position the text relative to the center of the screen.
- Enter Display Text: In the Texts tab of your campaign, enter the text for the created text field. For this example, you can enter
Terms and Conditions. - Appearance: Adjust properties such as Font Size, Color, and Alignment until the text looks as desired.
Make the Text Clickable
An interaction must be added for the text layer to respond to user clicks and trigger an event.
- Right click your text layer and select Events>Interaction
- In the properties pane on the left, configure the following:
- Label: Enter a descriptive name for the interaction layer.
- Affect Cursor: Select this checkbox to change the mouse cursor when a user hovers over the text.
- Always Active: Select this checkbox to ensure the text is always clickable.
- With Pointer tap: Select this checkbox to assign a click event.
- From the event dropdown that appears below With Pointer tap, select the event you configured earlier in the editor Settings.
- Save your changes in the Editor.
Configure the Redirect Action
After the click event is configured, you must define what action the event performs. Follow these steps to redirect the user to your external URL when the text is clicked.
- Right-click the same text layer and select Logic > Redirect.
- In the properties pane, configure the following settings:
- Label: Enter a name for the redirect layer.
- Mode: Select New Window to ensure the link opens in a new browser tab.
- Event: Select NamedEvent from the dropdown.
- Event Name: Select the event you configured earlier. This links the redirect to the specific click trigger you set up previously.
- Static Text ID: Select the <External link> text identifier you configured earlier. This specifies which URL to open when the event is triggered.
- Save your changes in the Editor.
Add a Sound Effect (Optional)
You can configure a sound to play when the user clicks the text link.
- Upload your sound file in the campaign's Assets tab.
- In the editor, navigate to Settings > Assets > Sounds to configure the uploaded sound file.
- Right-click your text layer and select Effects > Sound.
- In the properties pane, configure the following:
- Label: Enter a name for the sound layer.
- Asset: From the dropdown, select the sound file asset.
- Event Name: Select the event you configured earlier to link the sound effect to the specific click action.
- Save your changes in the Editor.
Updated 3 months ago