Webhooks integration
Get notified automatically for individual campaign actions
The webhooks integration lets you get automatic notifications related to campaign actions for individual recipients. From the settings page you'll be able to subscribe to different campaign events.
Enable the integration
Navigate to Settings > Integrations > Marketplace > Webhooks and click on Connect.
Basic settings
Give your connection a Name that helps you easily identify it.
Webhooks settings
Enter the endpoint where you'll be sending the campaign events in the URL field.
Endpoint formatThe endpoint value should be a full URL, starting with
https://.
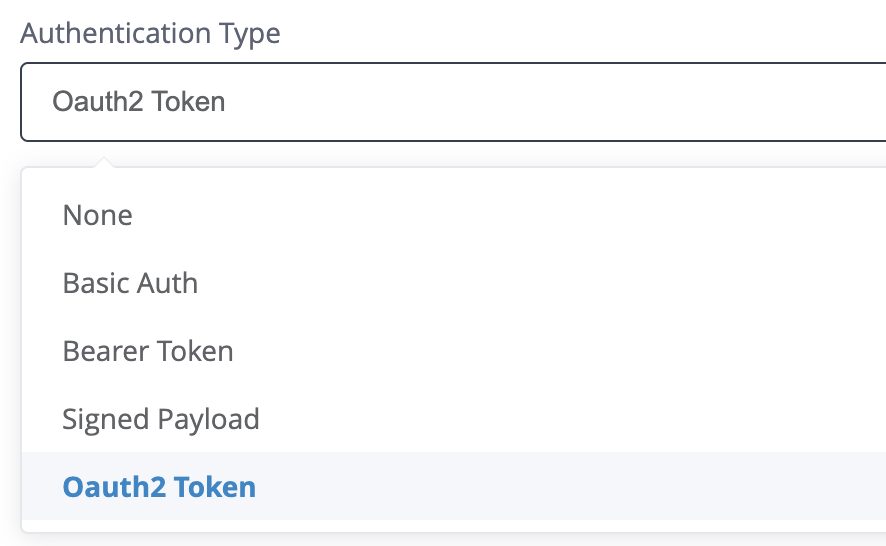
Select the type of authentication required:

- None: Endpoint requires no authentication (not recommended)
- Basic Auth: Requires username and password from the connecting platform.
- Bearer Token: Requires a token obtained from the connecting platform.
- Signed Payload: Generates a secret key that should be entered into the authorised recipient's settings. To successfully communicate, the key sent must match the key stored in the recipient's settings. These should match the credentials your endpoint is configured to receive. For more information, see Verify Webhook Signatures.
- OAuth 2.0 Token: Standard authentication protocol where connection details are taken from the connecting platform and entered into Xtremepush so they can be used in fetching a dynamic token which is then used in the same way a standard bearer token but can be updated regularly for an added layer of security.

The screenshot shows a connection example using Basic Auth
Configure the integration
The settings section allows you to select the type of events you want to get notified about (for example, for message send, message open or message unsubscribe) and the channels for which you want to receive these webhooks (all single-stage campaign types are supported). For an exhaustive list of message events, review the Message Events section.
Click Connect to complete the setup.
More than one webhooks connectionIt is possible to have additional webhooks connections by repeating the integration steps outlined in the section above.
This might be helpful in case you want to set up different endpoints for different message events or message types.
Webhook request format
The HTTP requests made by Xtremepush to your webhook endpoint are sent with Content-type as application/json and contain a JSON object in the request body.
The JSON object contains elements with the following keys:
event: String, for example: "message_send", "message_delivery".time: Integer, UNIX timestamp.properties: a nested JSON object containing elements described below:
Event properties
message_type: Indicates the communication channel.campaign_id: Indicates the campaign ID (by which it's possible to search from the Existing Campaigns page).profile_id: The Xtremepush unique profile ID.device_id: The Xtremepush unique device ID. Will only be populated in device-centric campaigns (such as mobile, web push or in-app campaigns).trigger_id: Xtremepush's internal unique identifier for the action that triggered the campaign to be sent.error_message: More information about the reason a message failed. Only available for Message failure events.user_id: External unique identifier. Learn more about how to set the user ID.email: The email address of the user.external_message_id: External unique identifier that identifies each transaction. A value will be returned if it's passed to the campaign execute external API endpoint when executing campaigns.
Custom format
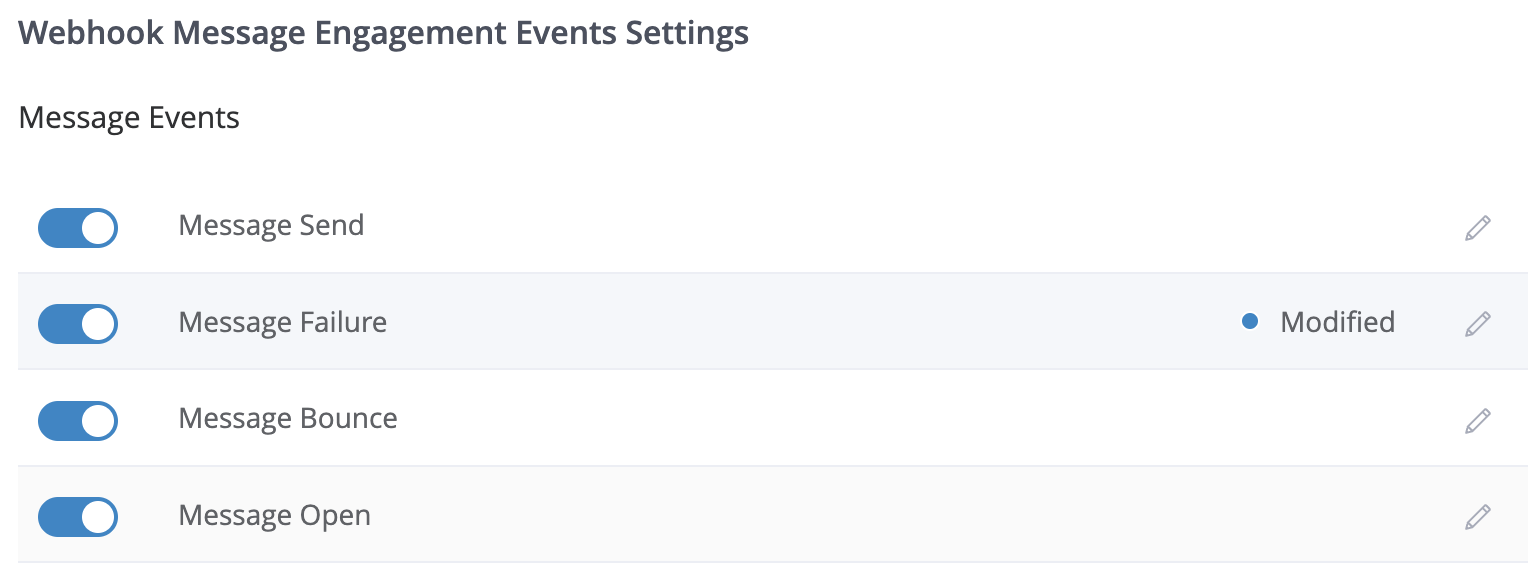
If you require a specific format or different values to be included in (or excluded from) the webhook payload then it is possible to edit individual message events to suit your needs by clicking the edit icon shown on each message event row.

In this example, the mesage failure payload has a modified format
Editing a message event which had not been edited before shows the default payload which is sent. You can then edit the format as required. The editor provides validation for the JSON payload (which is the only supported format). The variables available to that particular message event are already present and can be edited or deleted as required.

The message event editor shows a validation error for the JSON format
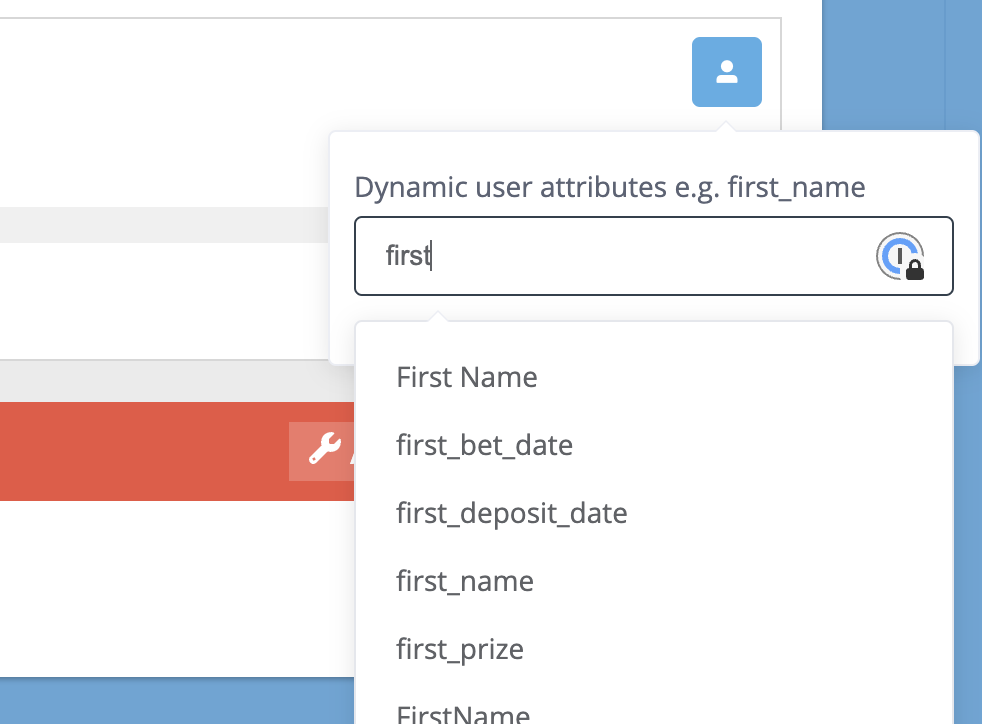
As well as the standard placeholder values, it is possible to include attribute data for the profile that the webhook was triggered for. Clicking the helper icon on the top right corner of the editor shows a list of all available placeholders. When defining the value for an attribute, ensure the placeholder is enclosed in quotes with a space on each side, like this: "attribute": "{{ attribute }}"
At the point of sending, if no data is available for any of the placeholders included in the payload then a null value will be passed.

Click the Reset button below the editor to establish the default content.
Subscription events settings
This section allows users to get notified when there are changes to the subscription status.
- Message Opt-in/out: This covers subscription changes from an email campaign unsubscribe header, manual changes in the UI, imports (CSV or API) and SDK updates.
- Preference opt-in/out: This covers user updates to their subscription status from the preference center, manual changes in the UI, imports (CSV or API) and SDK updates.
Exclude data by source
If a subscription event captured from messages is enabled, you can choose to exclude subscription changes made by integrations from being sent in a webhook update.
Other settings
It's possible to further configure the integration:
external_message_idrequired - Enabling this toggle prevents sending out the webhook if the external_message_id is not included.- Use static IP address - If enabled, webhooks will be sent from the environment's static IP, which allows customers to add it to an allowed list.
- Notify on error - When enabled and if an email address is provided, in case of webhook failures (usually due to authentication issues), it sends a notification at regular intervals until the error is resolved.
TimeoutsThe webhook endpoint has to respond within five seconds. If your webhook does not process the request within this time, then the delivery of the webhook may fail. We recommend to delay processing the webhooks so the endpoint responds quickly and consistently.
Update or delete an existing connection
Select the integration from Settings > Integrations > Marketplace > Configured Integrations. Go to the Settings tab and update any necessary settings; click Save to confirm. If you need to delete or deactivate the connection, click on the Actions button. You will be presented with the option to either Deactivate or Delete the integration. Clicking either of them opens a confirmation dialog.
Updated 3 months ago