Add Additional Assets
Add assets in addition to those in the default asset pack
If you want to add additional assets than the ones provided in the asset pack, then follow the steps detailed on this page.
Adding an additional asset to your game is a three-step process. You must first configure the asset name in the editor, then upload the asset, and finally complete the asset configuration in the editor.
To add new assets, do the following:
- Go to the Editor>Settings>Assets.
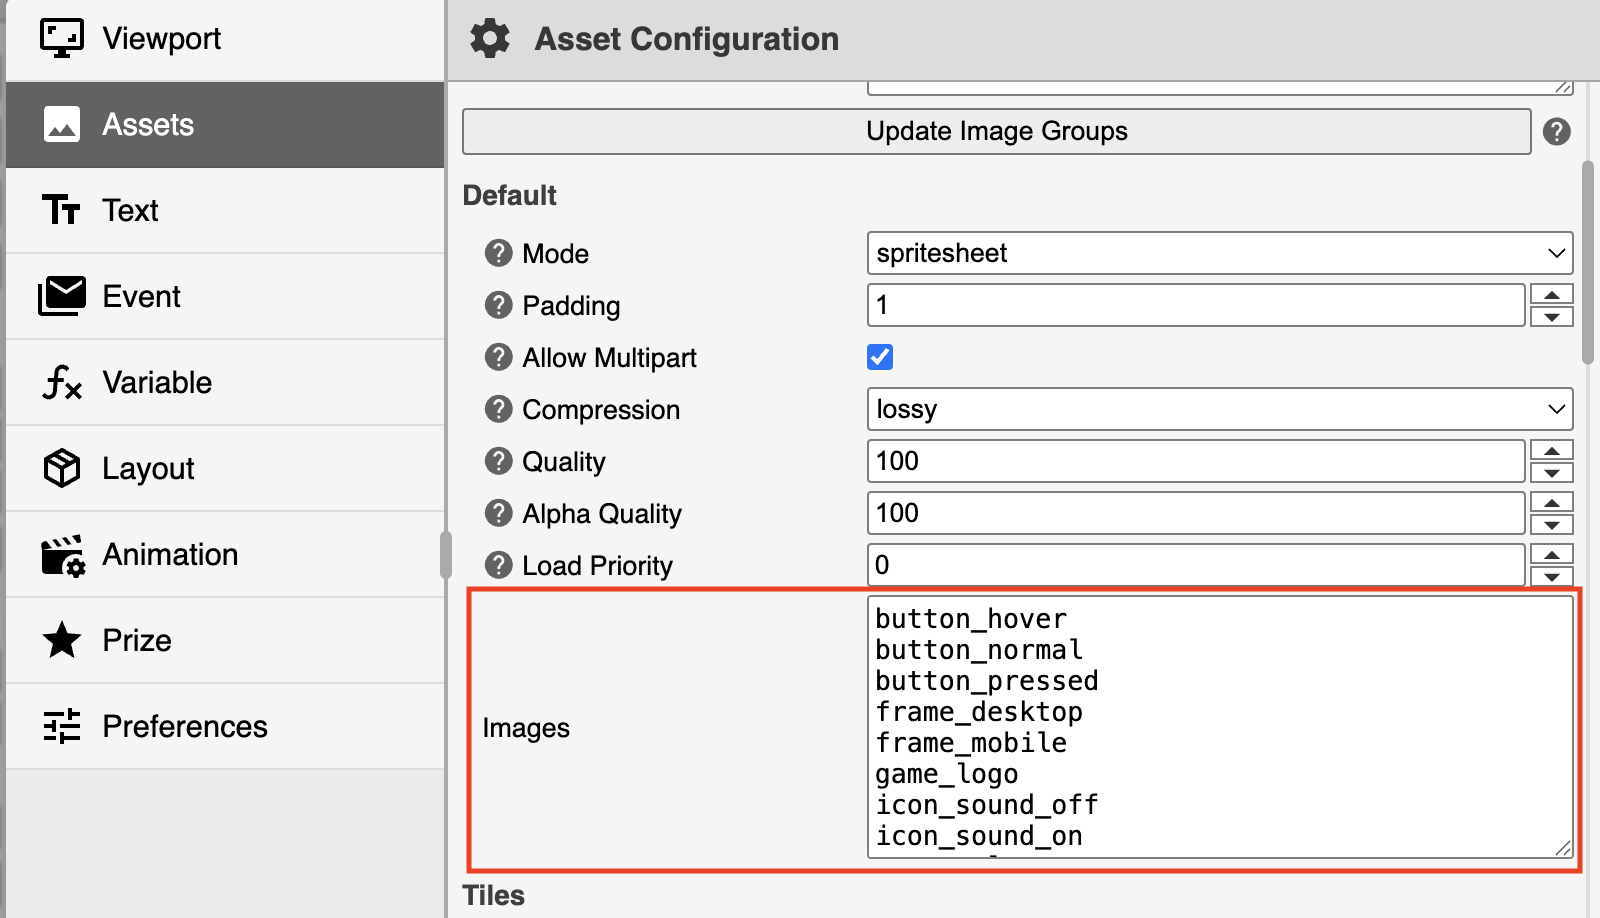
- Add the name of your asset in the Images field as shown in the image below:

Images field in the Editor's Asset Configuration window
About the Images FieldsThere are multiple Images fields in the Asset Configuration window. These fields vary depending on the type of game you’re configuring. The images field in the Default section contains the standard assets used in the game
- Click Apply and then Save your changes in the editor.
- Go to the Assets page of your game campaign and upload the assets you configured in step 2.
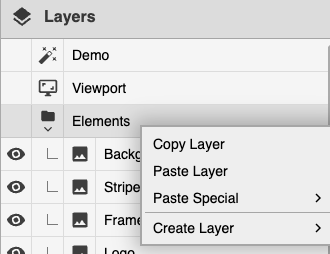
Ensure the file name of the uploaded assets match the one you provided in the Images field of the editor. - In the Editor, go back to the Main Screen layout and right-click Elements in the Layers tab as shown in the image below:

Add a new layer in the Layers tab
- Click Create Layer>Elements>Image
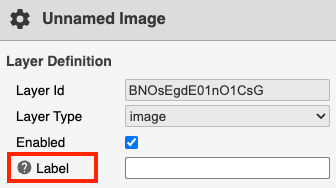
An Unnamed image layer is added at the bottom of the Layers tab. - Select the Unnamed layer and on the properties pane in the left, enter a name for the image layer under the Label field as shown in the image below:

Add a name for a new image layer
- Repeat steps 6 and 7 for each asset name added in the Images field in step 2.
- Save your changes in the Editor.
For an example use case of how to add additional assets, modify its appearance, and use interactive elements, see Add a Start Button to your Game.
Updated 3 months ago