Create an email campaign using the API
How to create a campaign using Xtremepush's external API
If you haven't already, first review the general overview of using the create and send campaign methods to send messages via the API.
To create an email you will need to add an email message in your POST request params when calling the create method. Parameters used in email message content are listed below:
Paramethers
Parameter | Description |
|---|---|
messages | Set to number 7 for email i.e.: |
email_type | Set to 1 to indicate email comes from API |
email_subject | Subject text of email |
email_html | The html of your email |
email_text | The text for the plain text version of your email |
email_unsubscribe | Choice on whether or not to use the unsubscribe header. Boolean 0/1. |
email_address_id | The ID of the from email address you want to use |
email_template | set to 1 |
Example
Find a sample of POST request below to create an email message. The channel email is turned on with "email":1, the email type 7 is added to the messages object with params for the email content. The email address ID can be found in the table showing your list of verified emails. These can be found on the platform by going to Admin menu (top-right) > Email addresses. In this example "broadcast":1 is used to target your entire available user base. Conditions that target a subsection of your audience, and scheduling and other options can be added as described in the general overview of the create campaign method.
URL = api / external / create / campaign

POST_DATA = {
  "apptoken": "YOURAPPTOKEN",
  "title": "Email Example via API",
  "email": 1,
  "broadcast": 1,
  "messages": {
    "7": {
      "email_address_id": xxx,
      "email_subject": "Hi {{first_name}}, check out our sample API email test",
      "email_unsubscribe": 0,
      "email_text": "[Image]\n\nEditor 2.0 now available\n\nThe New Drag and Drop Editor is Here!\n\nOur amazing email editor with built in responsive design has now become even better, giving you full control over rows and columns\n\n[Image]",
      "email_type": 1,
      \
      "email_template": 1,
      "email_html": "YOUR FULLY RESPONSIVE EMAIL HTML"
    }
  }
}
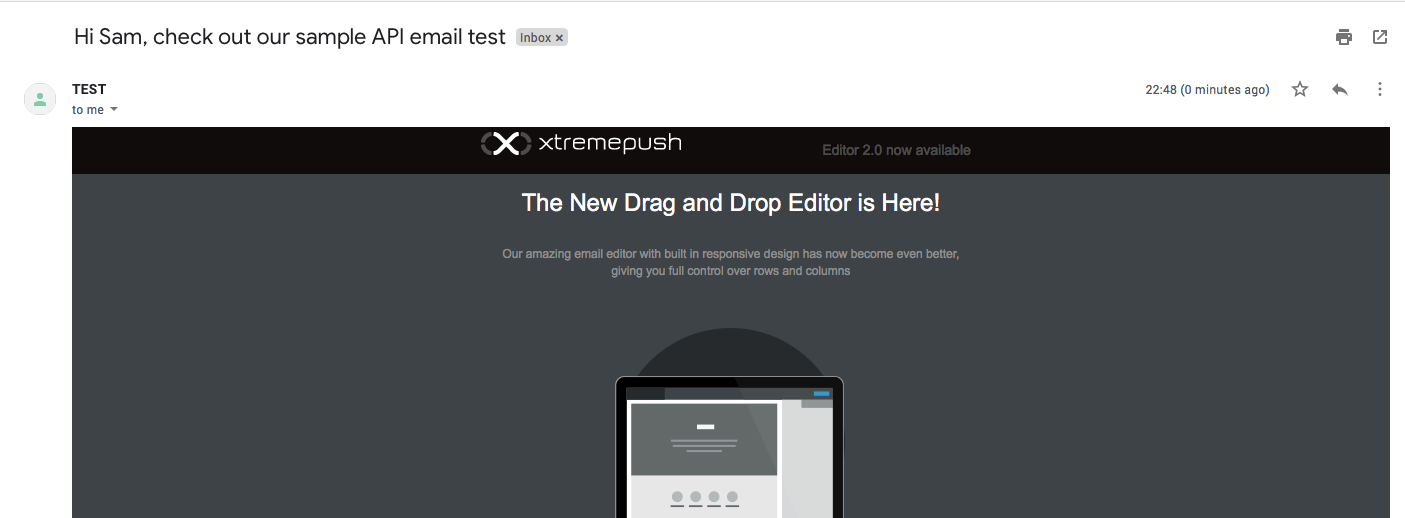
Your HTML might look something like the sample linked below which creates an email like this one:

To help test you can use this sample HTML email content.
Updated 3 months ago