Control the iOS push notification prompt
Get more opt-ins and give a better experience to your users by customising the opt-in journey
PrerequisitesIn order to set up push notifications, you must first follow the main iOS push notifications guide.
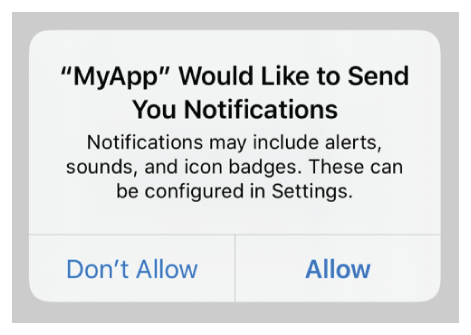
In the iOS push notifications guide, the registerForRemoteNotificationTypes method added when initialising XtremePush in your App Delegate will cause the iOS push notifications permission dialog to appear immediately:
XPush.register(forRemoteNotificationTypes: [.alert, .badge, .sound])[XPush registerForRemoteNotificationTypes:XPNotificationType_Alert | XPNotificationType_Sound | XPNotificationType_Badge];
Delay the opt-in or include a value exchange
It is recommended to delay this opt-in prompt until the user has logged in or until they have reached an appropriate section in the app where permission is clearly required, for example, turning on an alerting function.
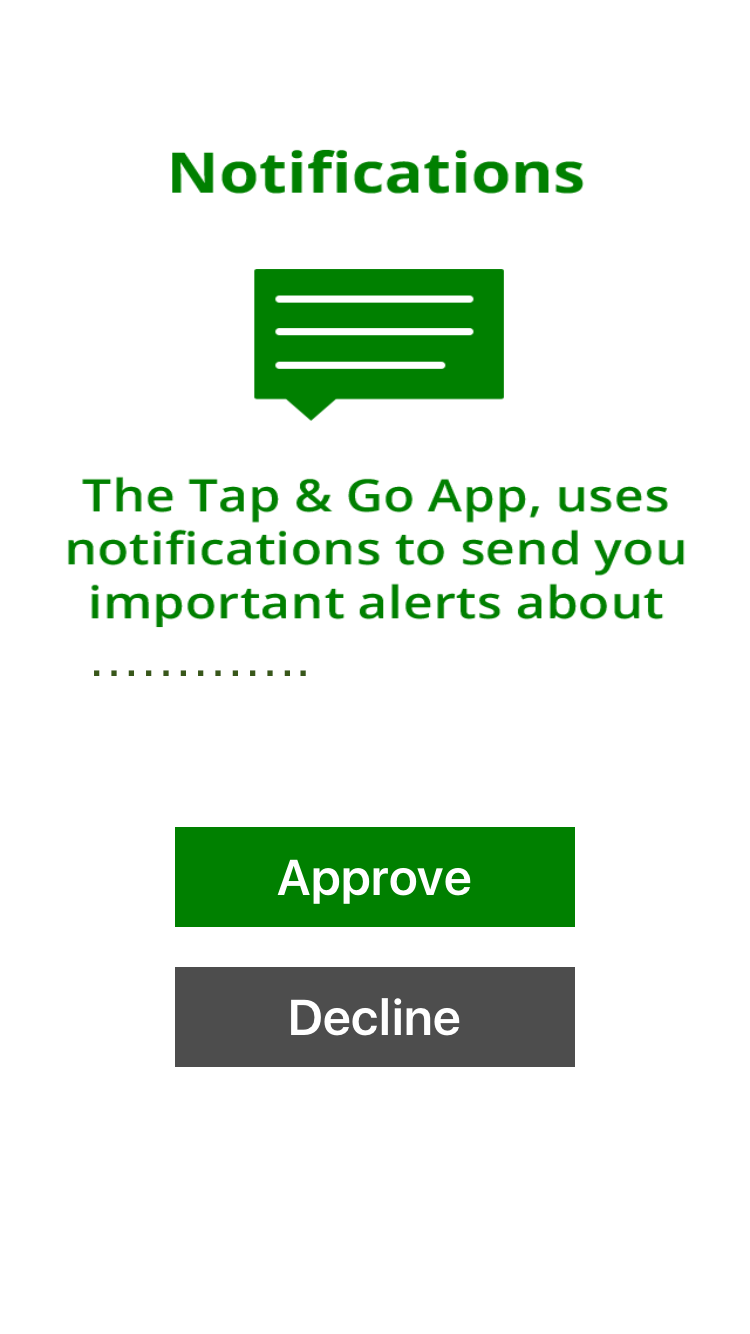
It is also good practice to display a value exchange screen prior to asking for notification permissions that explains why you want to use notifications.
Value exchangeRead more about what a value exchange is and why it can help you get more opt-ins on our website.
This screen can contain app-level Allow and Don't Allow buttons, that can set a local flag in the app if the user chooses to refuse. If the user denies granting permission at this stage, you do not show the iOS dialog and that means that you are able to ask for permission again in the future, instead of having lost your chance by the user denying the OS-level permission.
To make this change, remove the call to the registerForRemoteNotificationTypes method from your App Delegate. You can call it later in conjunction with some additional logic related to your custom push permissions prompt workflow. This workflow can contain a value exchange and logic to ask again later if the user denies permission at the custom dialog initially.

Example of a value exchange that would be presented to users before the OS level opt-in prompt.
Simple value exchange screen
For example, you could have a function linked to an Allow button like this:
func approvePushButton(){

       defaults.setObject("approved", forKey: "push")
       approvalComplete()

       XPush.register(forRemoteNotificationTypes: [.alert, .badge, .sound])

 }
- (IBAction)pushAllowAction:(id)sender {
[[NSUserDefaults standardUserDefaults] setBool:YES forKey: push];
[[NSUserDefaults standardUserDefaults] synchronize];
[XPush registerForRemoteNotificationTypes:XPNotificationType_Alert | XPNotificationType_Sound | XPNotificationType_Badge];
}And a function linked to a Set up later button to set a time to try the prompt again:
func declinePushButton(){

       defaults.setObject(addMonthToDate(), forKey: "push")
       approvalComplete()

   }
- (IBAction)declineAction:(id)sender {
[[NSUserDefaults standardUserDefaults] setObject:[self addMonthtoDate] forKey: push];
[[NSUserDefaults standardUserDefaults] synchronize];
}Updated 4 months ago