Shopify
The Shopify Integration enables you to automatically sync Shopify data, execute personalised e-commerce marketing campaigns and analyse them.
Create Xtremepush app in Shopify
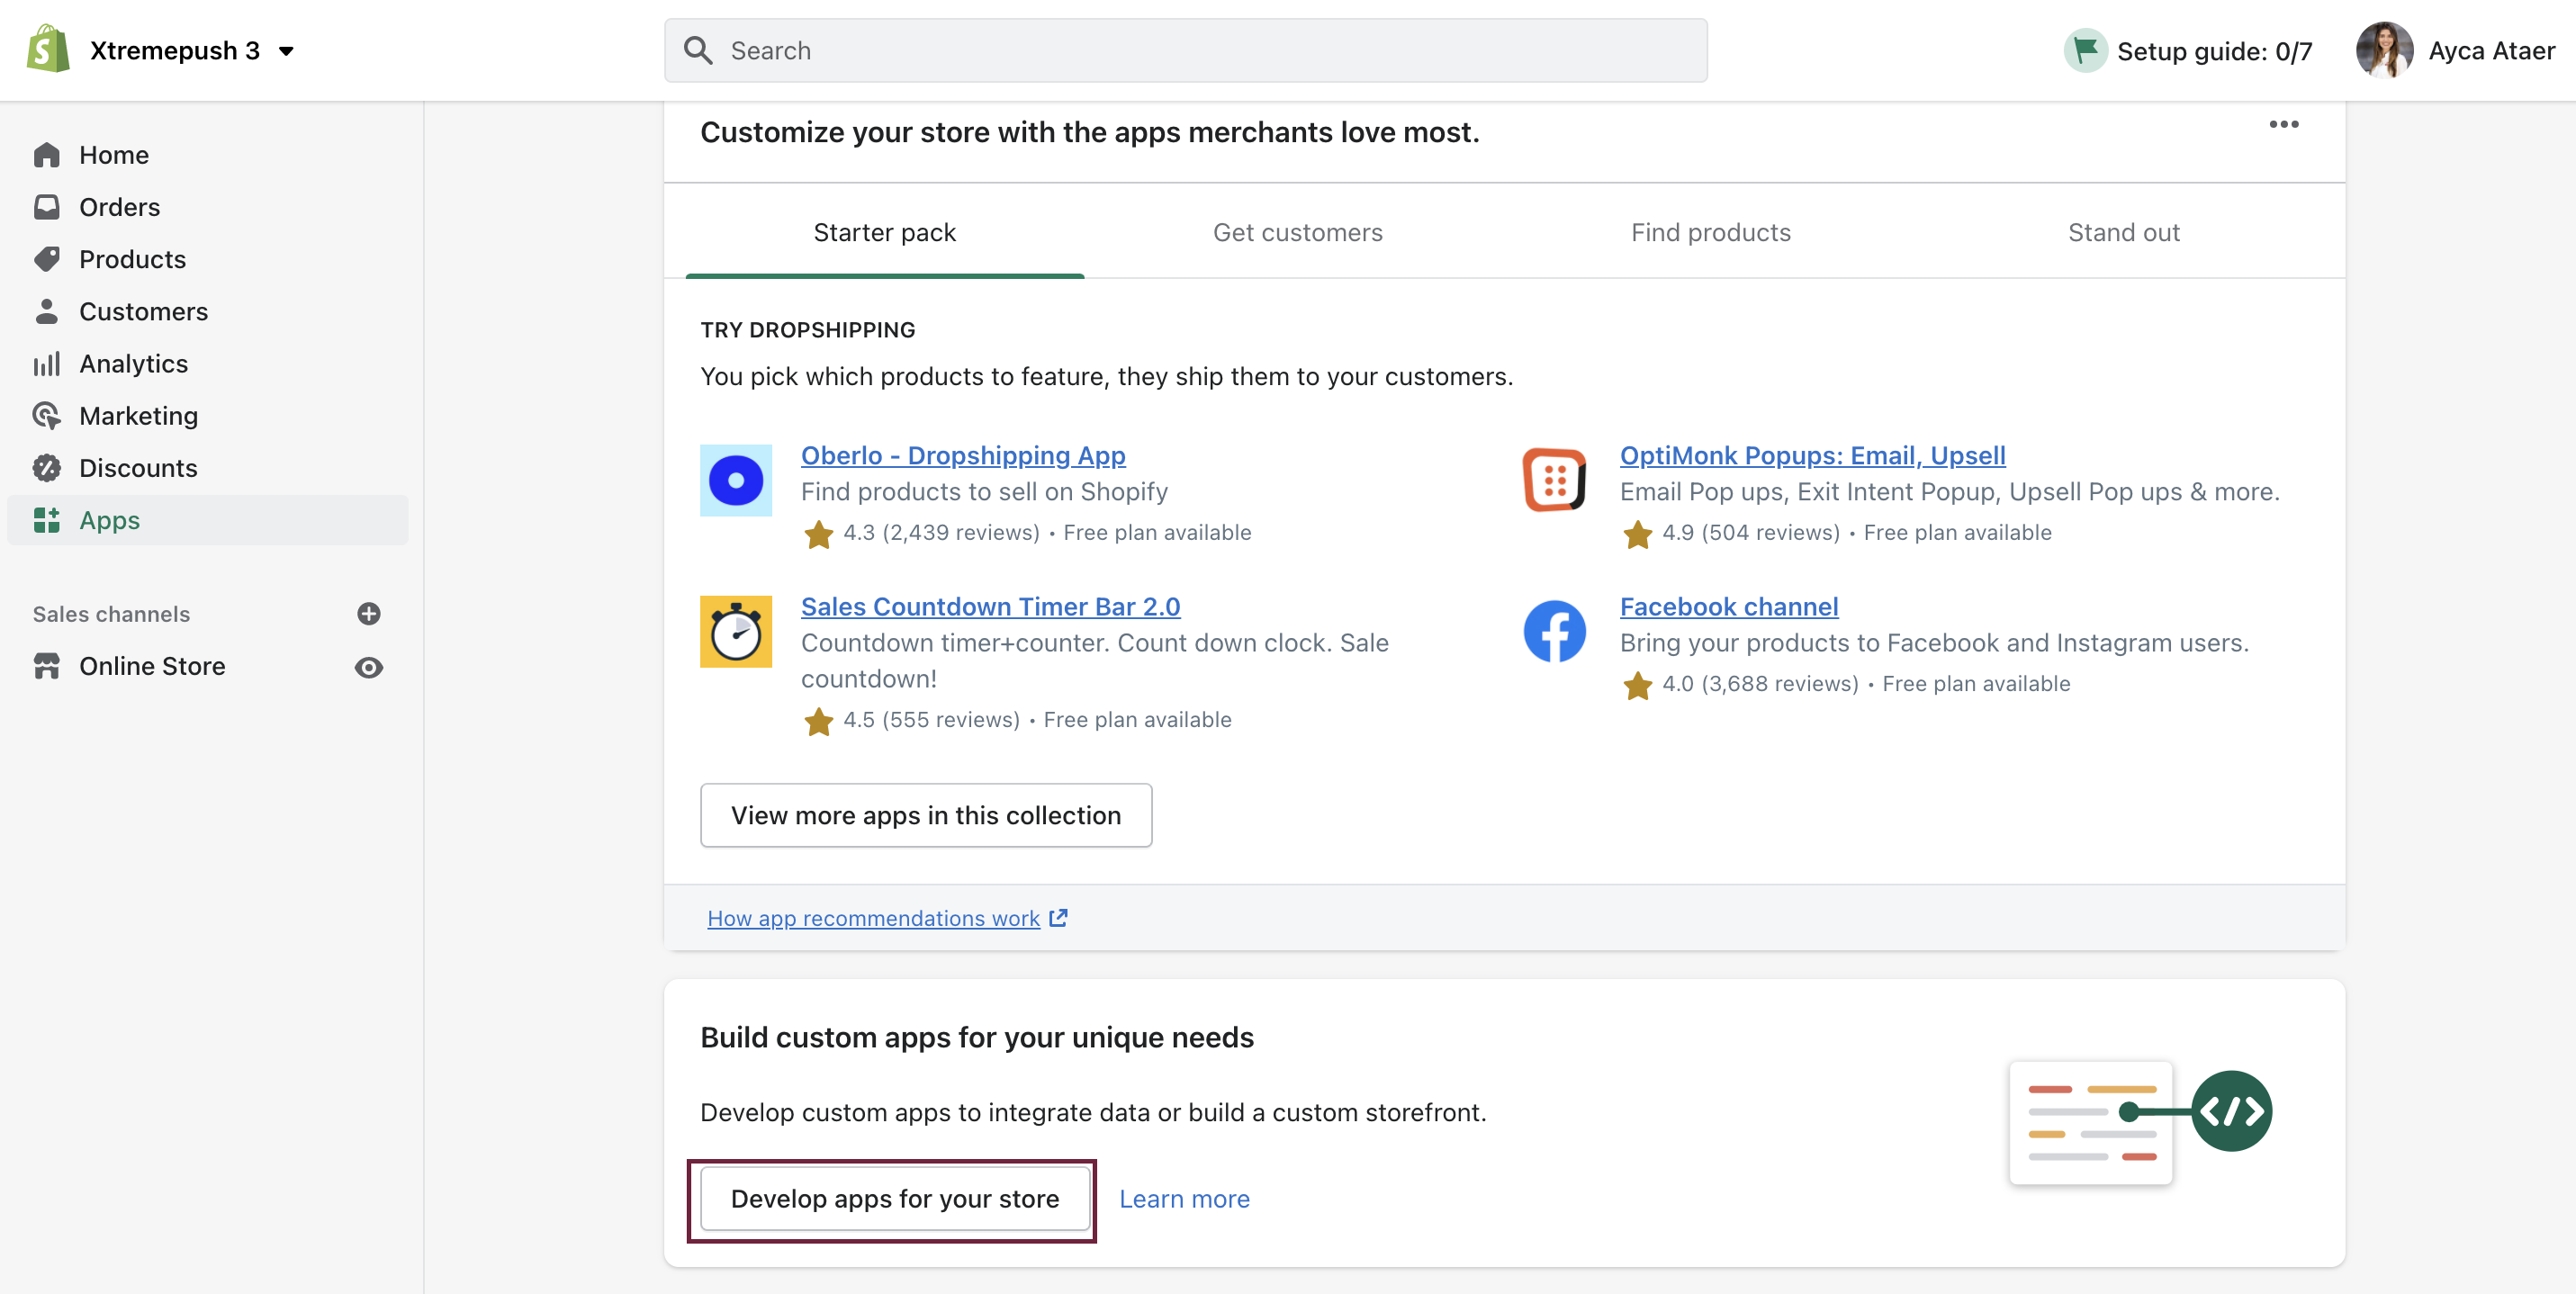
Log in to your Shopify account, navigate to Apps > Build custom apps for your unique needs.
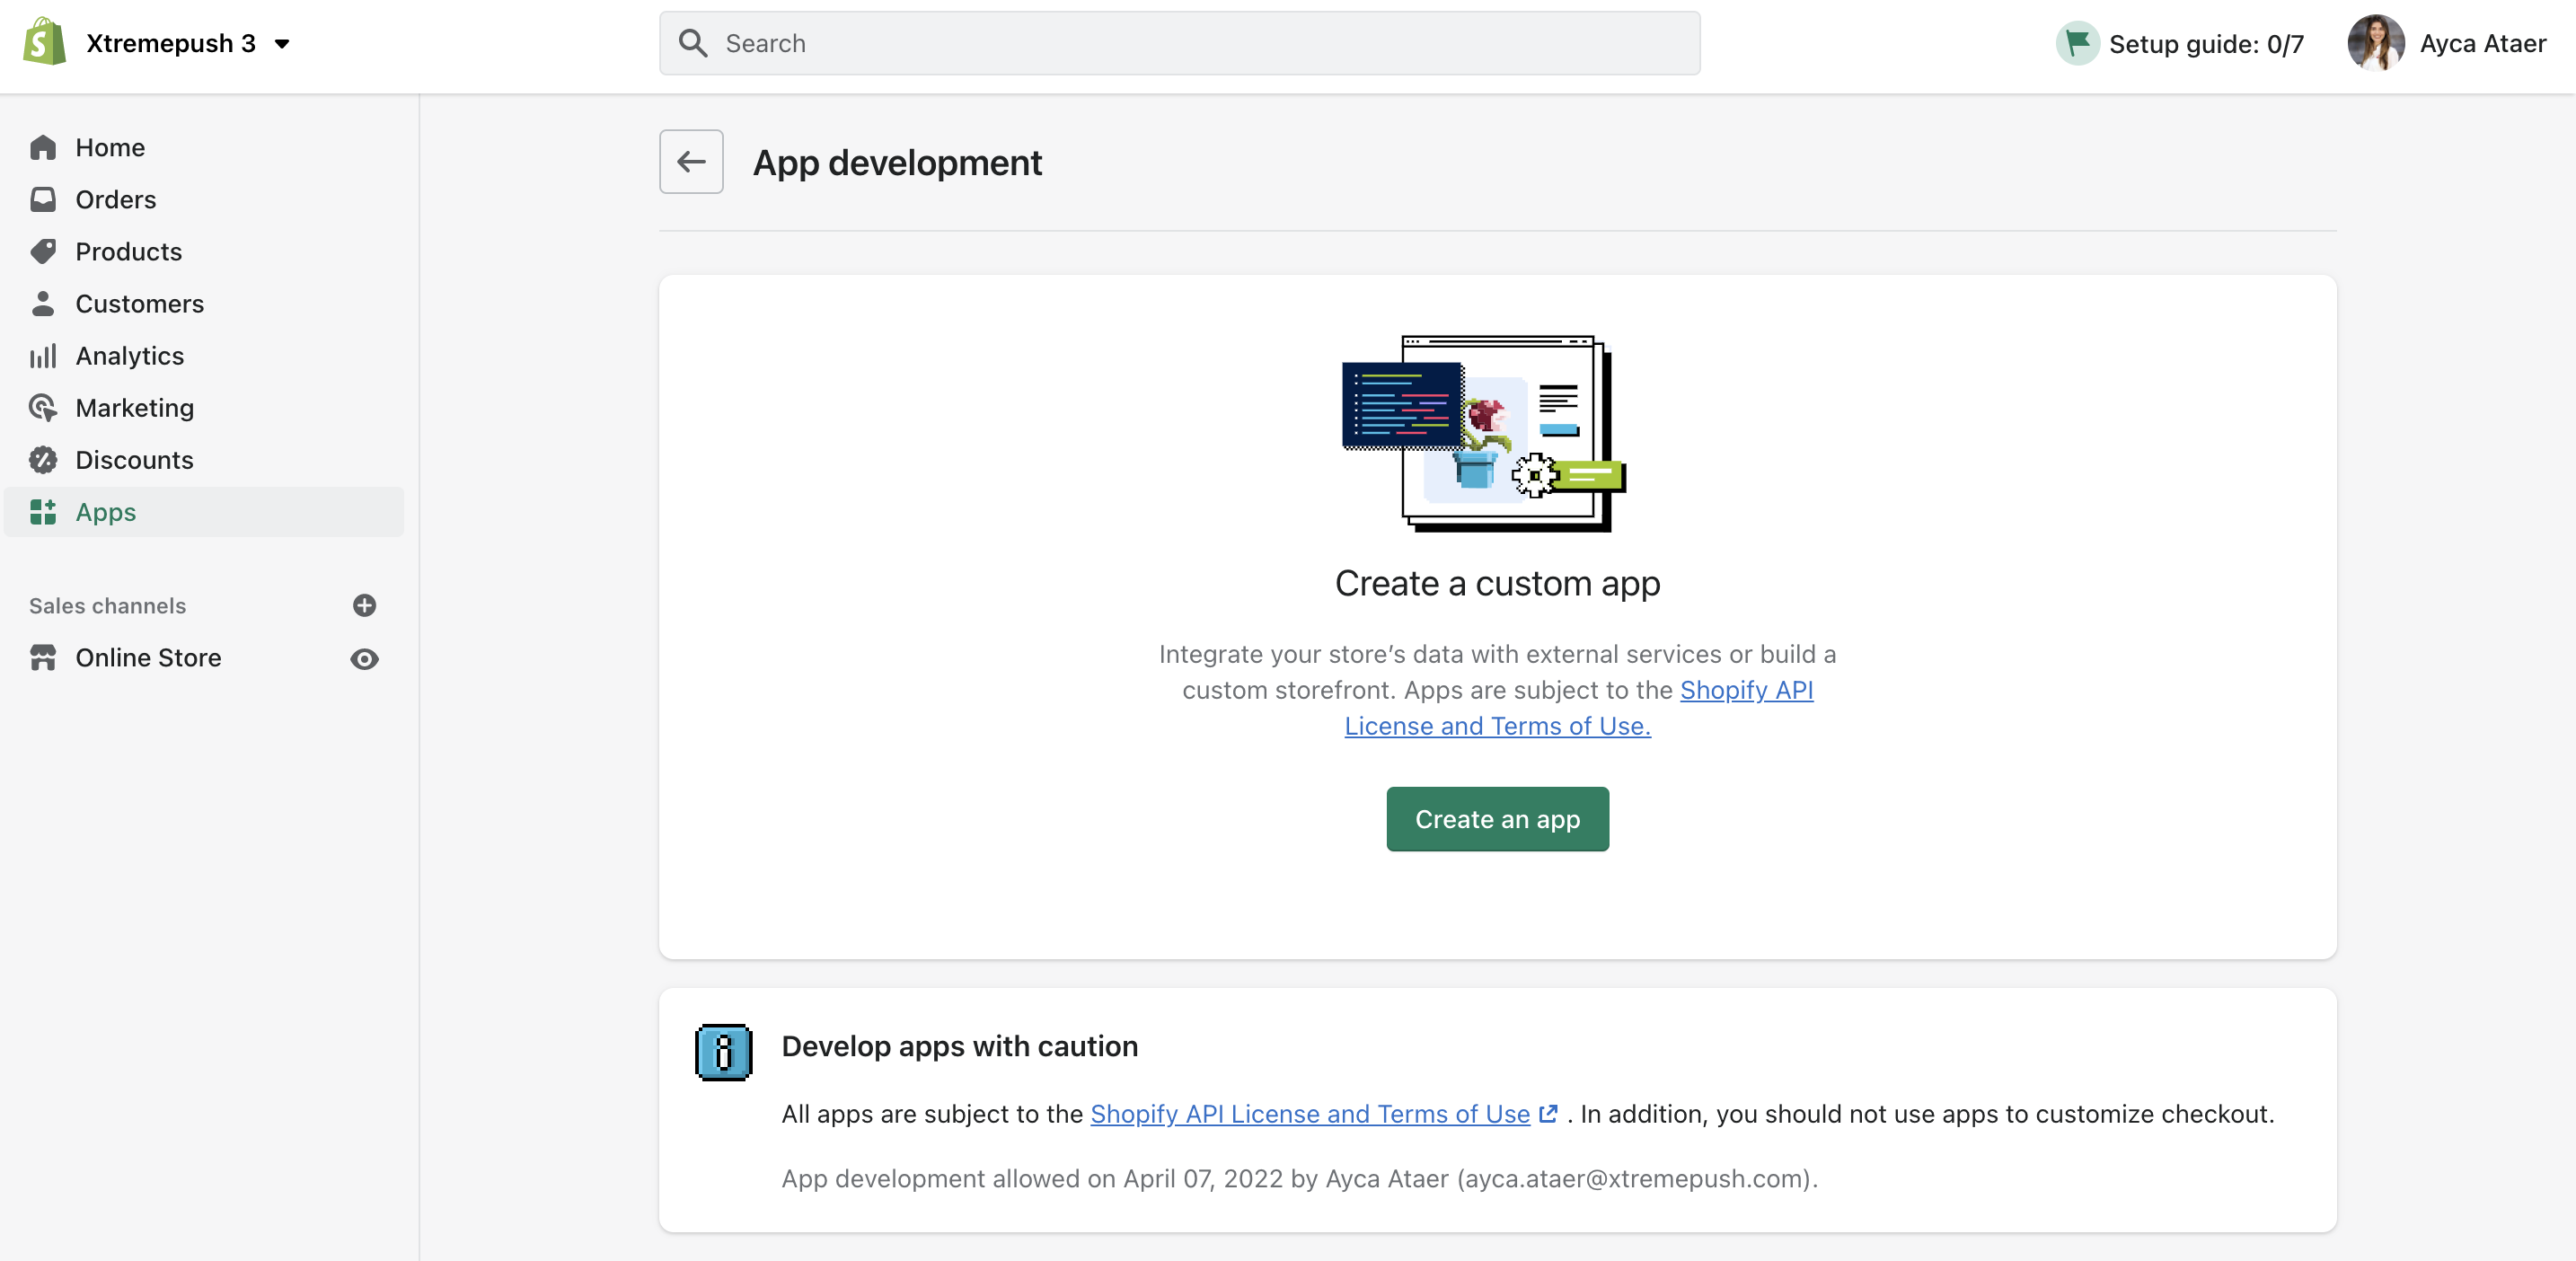
Then click on Develop apps for your store. After this, click on Create an app.


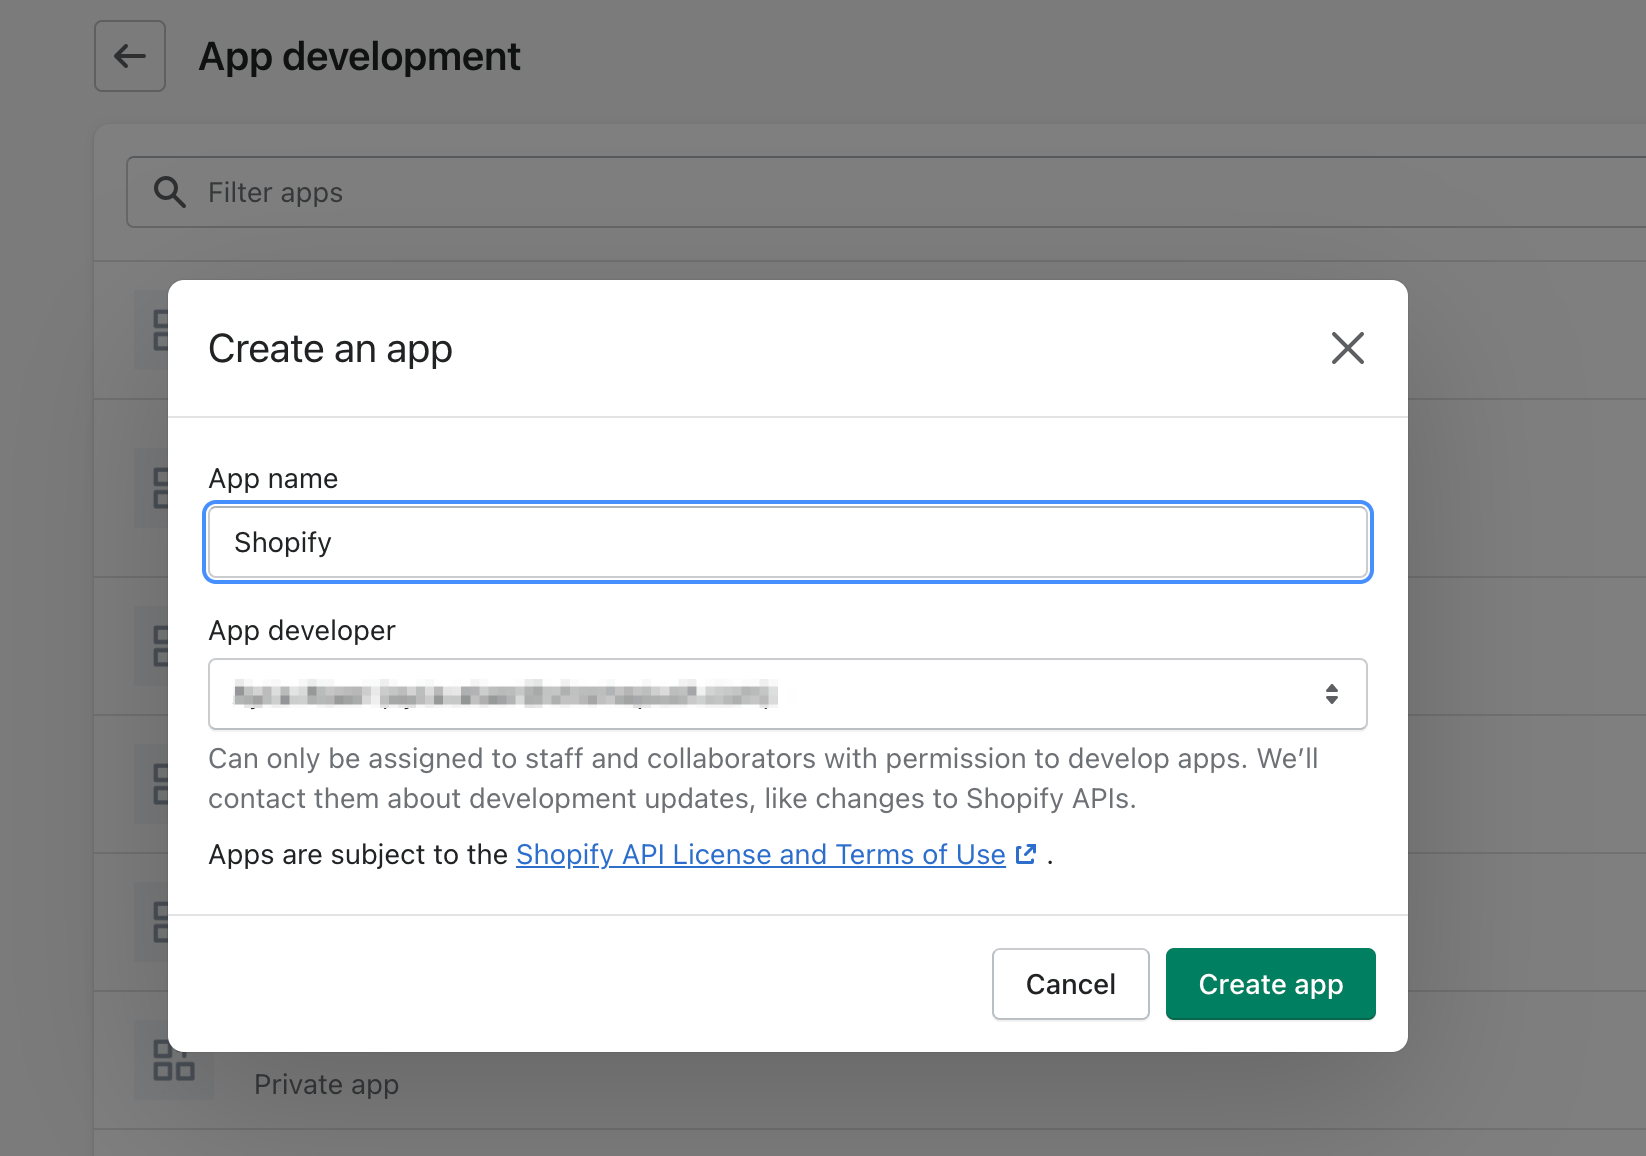
Fill in the app details in the pop-up by entering a descriptive name and the email address of the developer in charge of the integration in the appropriate fields, then click on Create app.

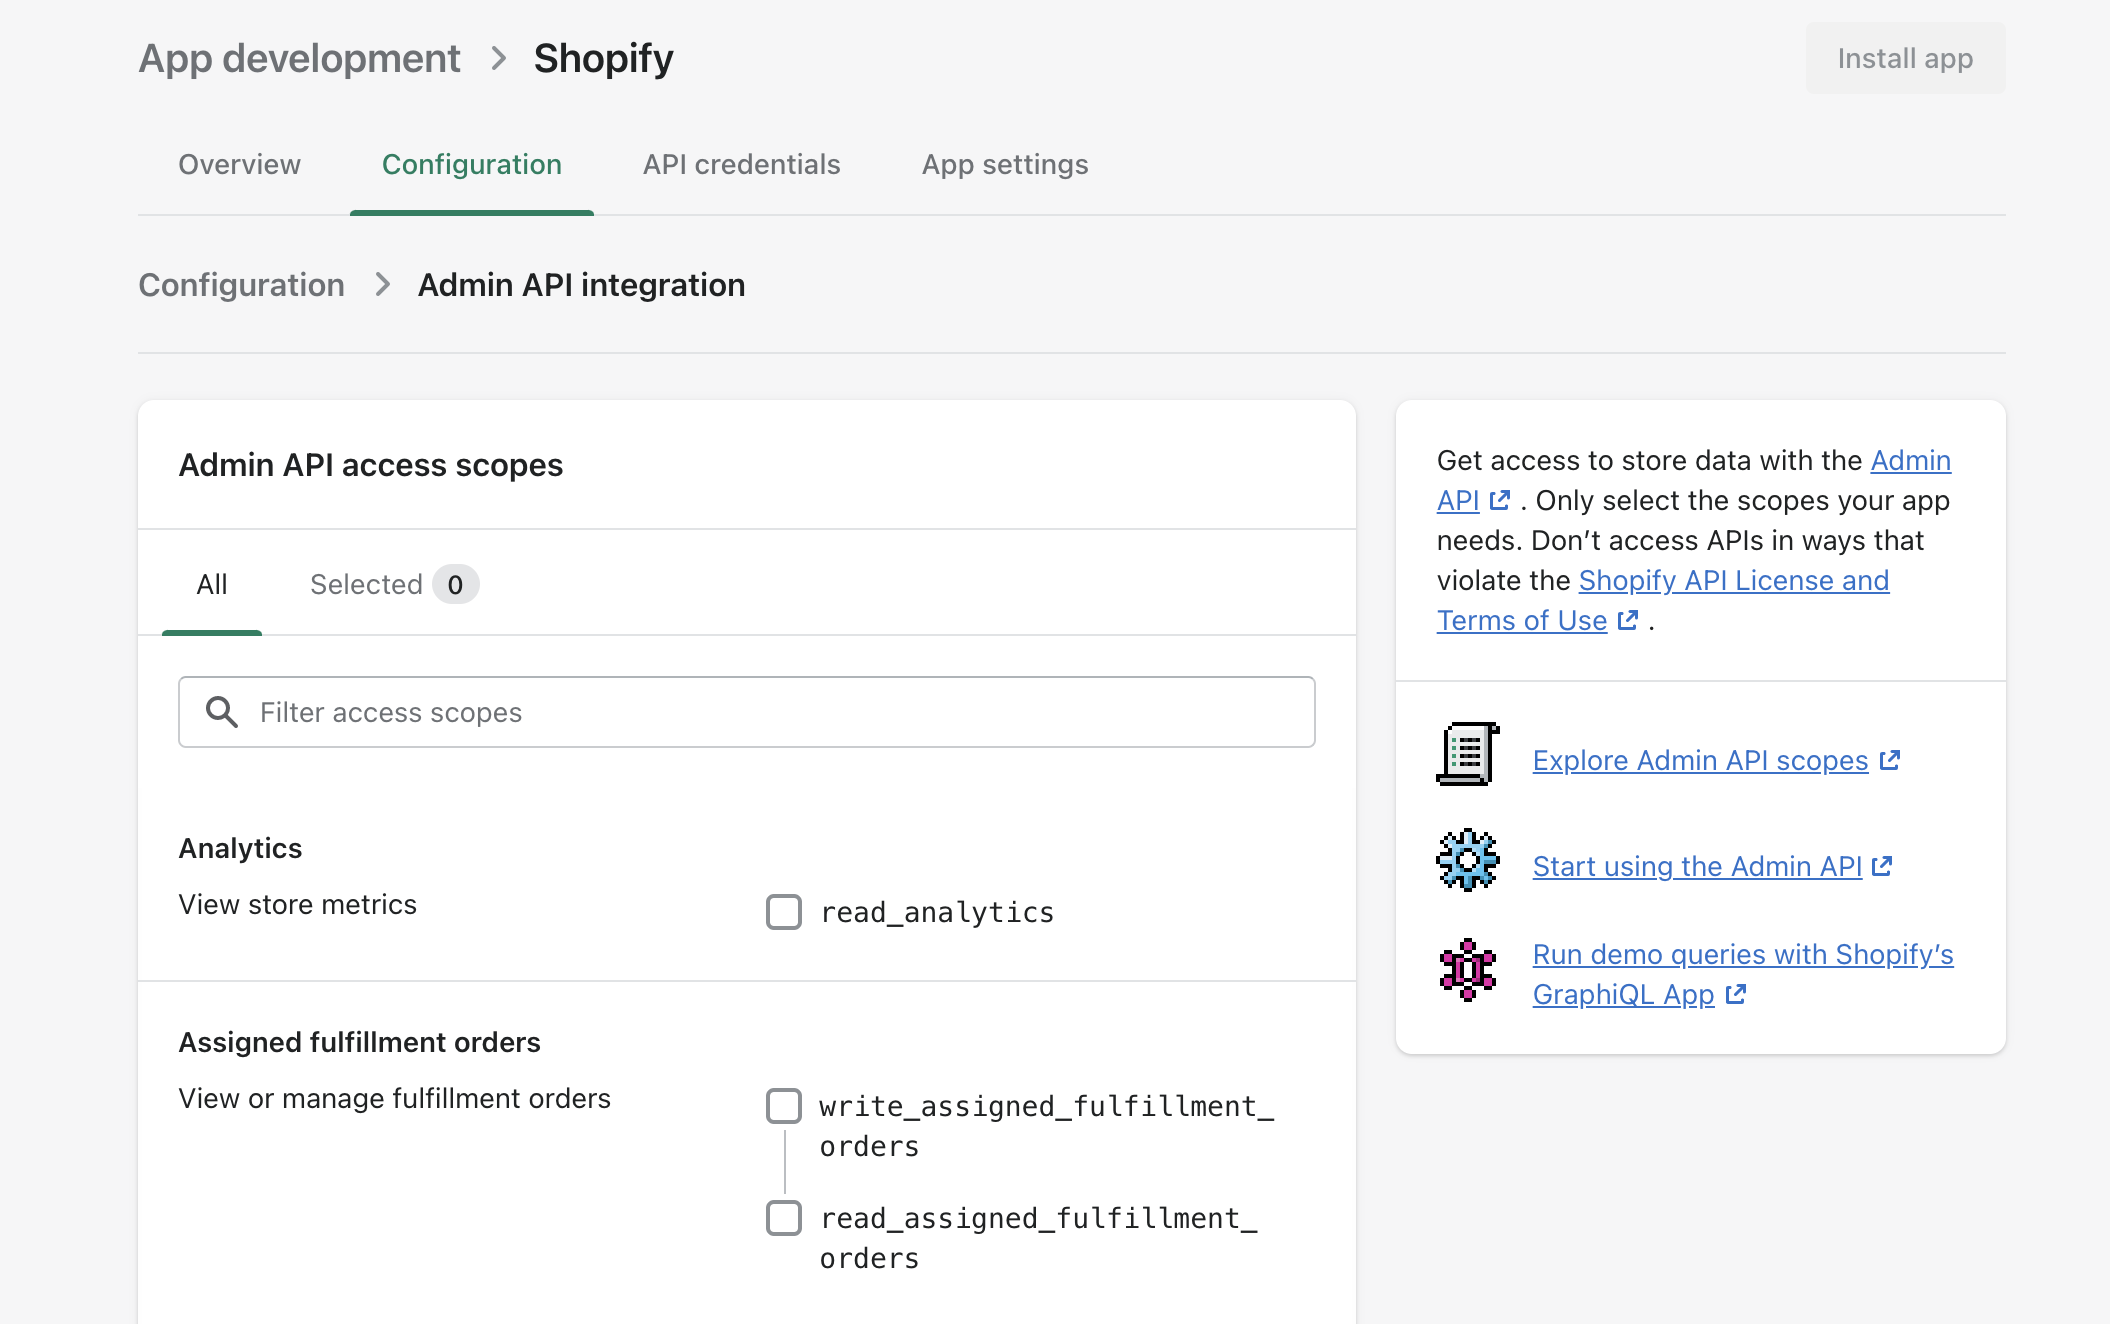
At this stage, assign the relevant level of Admin API permissions from Configuration > Admin API integration.

Permissions requiredFor a functional Shopify integration, you need the following user permissions: read and write access for Customers, read access for Draft orders, read access for Orders and read access for Products .
After saving your permissions, go to the API Credentials section and install your app. After the app has been installed, Shopify will generate your API access token that you will need to use in the Xtremepush platform in order to complete your integration.
Connect to Shopify
Once you complete the steps above in Shopify, open a new tab in your browser and log in to your Xtremepush account. Navigate to Integrations > Marketplace, select the Shopify card in the Integrations Marketplace tab and click Connect.
Fill in the Connection, Data Mapping and Realtime Events sections to complete the integration.
Connection
In this section, you need to enter basic settings and connection details.
Basic settings
Give your connection a Name that helps you easily identify it.
Connection settings
- Admin API Access Token: Found in Shopify's Develop apps for your store > API Credentials section, named Admin API access token.
- API key: Found in Shopify's Develop apps for your store > API Credentials section, named API key.
- API secret key: Found in Shopify's Develop apps for your store > API Credentials section, named API secret key.
- Store URL: Such as
example.myshopify.com.
After completing the connection details, click Next and navigate to the Data Mapping tab.
Data mapping
This section lists your automatically mapped system attributes, which allows you to select which standard attribute you want to import and also to allow you to map your Shopify custom attributes to your custom attributes in Xtremepush.
Xtremepush's system attributes such as user_id and email will be automatically mapped to Shopify legacyResourceId and email attributes (listed in the Column fields). On the other hand, you will see Shopify standard attributes (listed in the Column fields) selected as Import (listed in the Map to fields). You can decide which attribute to fetch by selecting the Import or Don't Import field from the drop list. Lastly, you will also see Shopify custom attributes (listed in the Column fields) such as canDelete and acceptsMarketingUpdatedAt. You can also map these attributes to your predefined Xtremepush custom attributes.
Email subscription dataIn order to gather email subscription data, you need to map Shopify's
acceptsMarketingattribute to Xtremepush'semail_subscriptionattribute.
Creating attributesSystem attributes and standard attributes are automatically created on Xtremepush. However, in order to map custom attributes you need to create these attributes on the Xtremepush system first. Review our Attributes & tags guide to see how to do so.
Once you've completed the data mapping, click Next to navigate to the Realtime events tab.
Realtime events
In this section, you are required to select realtime events that you want to use in your campaigns. You can enable checkout, customer, draft order, order, order transaction and refund related events. When you enable an event, you will be able to use it in your campaigns as it will be automatically created as a custom event on the Xtremepush platform when that event is triggered from Shopify.
These events can be used when you create event triggered campaigns. You can also use them within segmentation, for example for check-out abandonment or welcome mailing for first time buyers.
Events namingEvents will use their naming from Shopify. For example; orders/create, customers/update, orders/partially_fulfilled etc. You can check available event naming from here.
Once you have selected the required events, click Connect. The connections are made and confirmed, your Shopify integration is listed under the Configured Integrations tab within the Marketplace and you are presented with the Integration Details page.
Finally, in order to start the synchronisation, click the Actions drop list and select Sync. Your options will be Full sync, Sync profiles and Sync purchases. Full sync includes synchronisation of users and purchase data. Once complete, each profile attribute is displayed along with a timestamp and status of Completed. If there is any other status, click the More menu and choose Details for extended information.
Purchase data synchronizationOnce you synchronise purchase data, you do not need to sync this data again. The system automatically updates purchase data based on received order details from real-time events.
Checkout abandonment
Checkout abandonment is one of the most significant use cases covered in the scope of this integration. You can create an event triggered campaign using a checkout_abandoned event from the Event tab of your campaign.
Subscribe to checkout eventsThe
checkout_abandonedevent is fed by checkout/create, checkout/delete and checkout/update events from the Shopify integration. You must subscribe to these events when integrating, before using thecheckout_abandonedevent in your campaigns.If you subscribe to these events, the
checkout_abandonedevent will be automatically created in Data > Data Manager > Events when it gets triggered from Shopify. You do not need to create this event beforehand.
A checkout abandonment link can be also added to the campaign content to increase its effectiveness. You should add an {{abandoned_checkout_url}} in your content body where you would like to include the checkout abandonment link that will redirect the user to the abandoned checkout when they click on it.
Updated 4 months ago